Introduction
Wall panel installation involves coordinated steps for alignment, secure attachment and a consistent finish. This overview introduces substrate preparation, layout planning, panel fixing, trim integration and final inspection. It is not a substitute for the selected product’s installation instructions or a site-specific assessment.
Pre-Installation Checklist
Confirm the selected panel model and instructions
Check the installation guide, approved fixing method and technical requirements for the selected model.
Inspect delivery and plan storage
Check cartons, dimensions, finish, color batch and accessories. Store and handle panels according to the product instructions.
Check substrate stability, flatness and moisture
Confirm a sound, level, clean fixing surface. Measure moisture using the method and limits specified for the panel and adhesive.
Locate concealed services
Have electrical cables, water pipes and fire-safety services identified before drilling or fixing. Use competent personnel where required.
Confirm the fixing surface or supporting framework
Check compatibility and condition of battens, framing or the existing surface for the chosen fixing method.
Plan layout and trim positions
Confirm panel direction, starting line, joints, openings and edge details before cutting.
Allow model-specific acclimation and movement
Follow the product requirements for acclimation, storage conditions and expansion allowances. Do not assume one rule applies to every panel.
Prepare a small mock-up area
Confirm appearance, joint details and the proposed installation method before full installation.
Have the condition assessed by the client’s qualified contractor or relevant professional before proceeding.
Substrate & Existing Finish Check
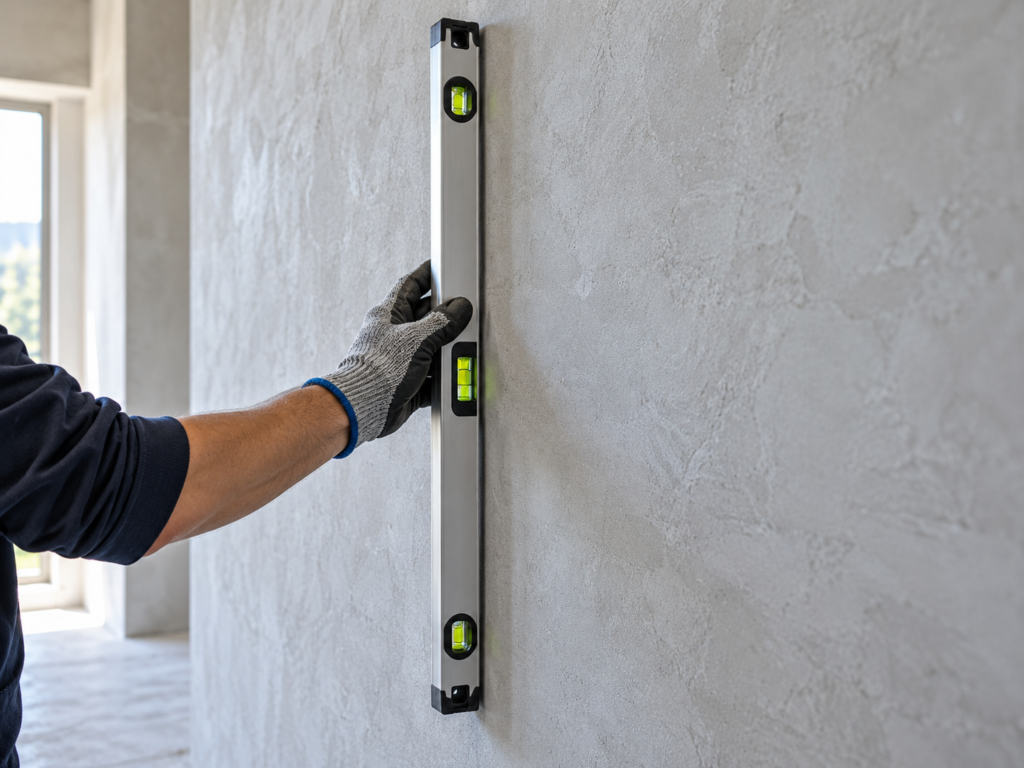
Concrete / Plaster
Check that it is sound, clean, sufficiently dry, level and free from loose material.
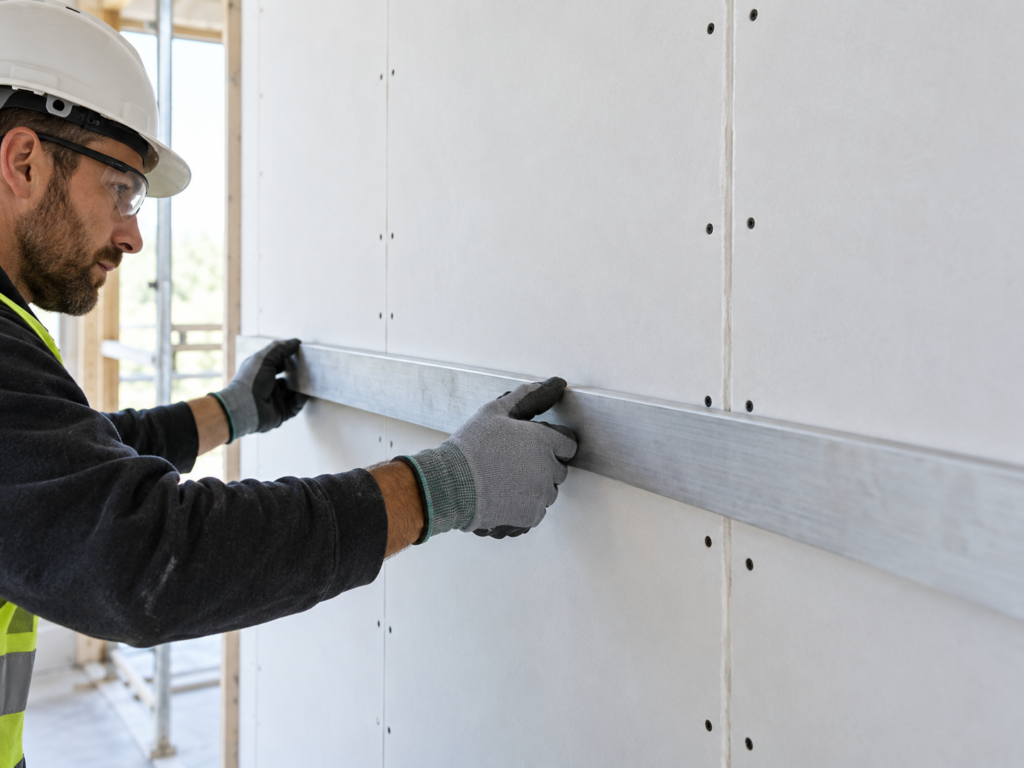
Plasterboard
Check board stability, fixings, joint condition and flatness. Confirm fixing suitability for the panel system.
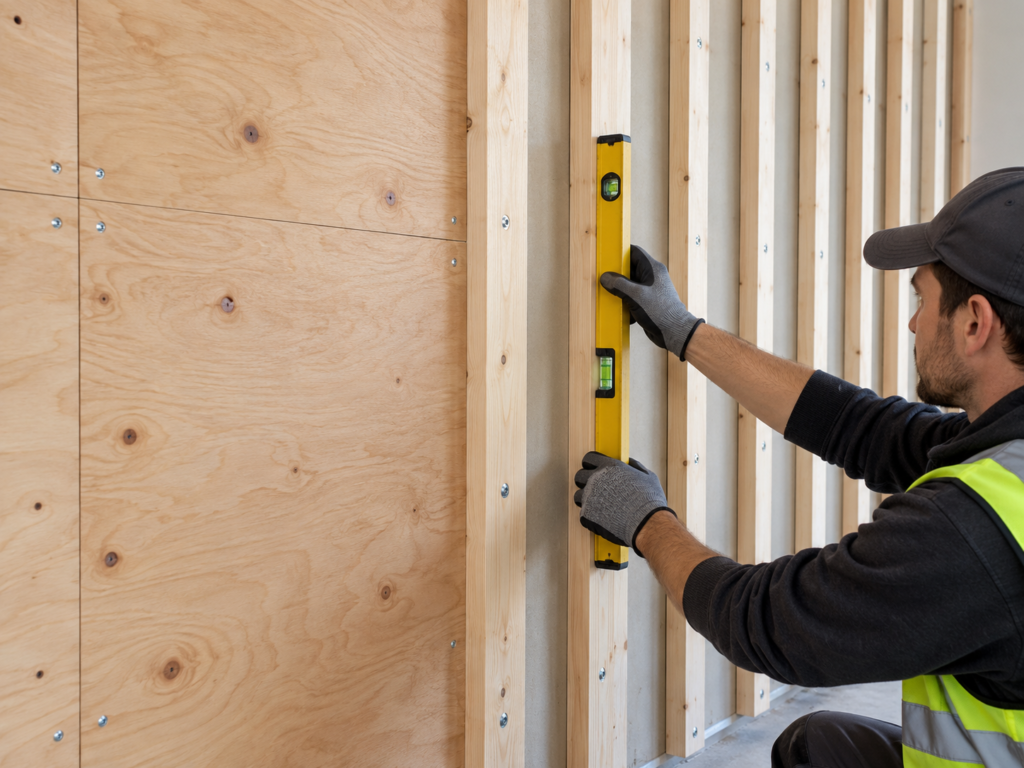
Plywood or Battens
Check that the supporting material is firmly fixed, dry and suitable for the selected fixing method.
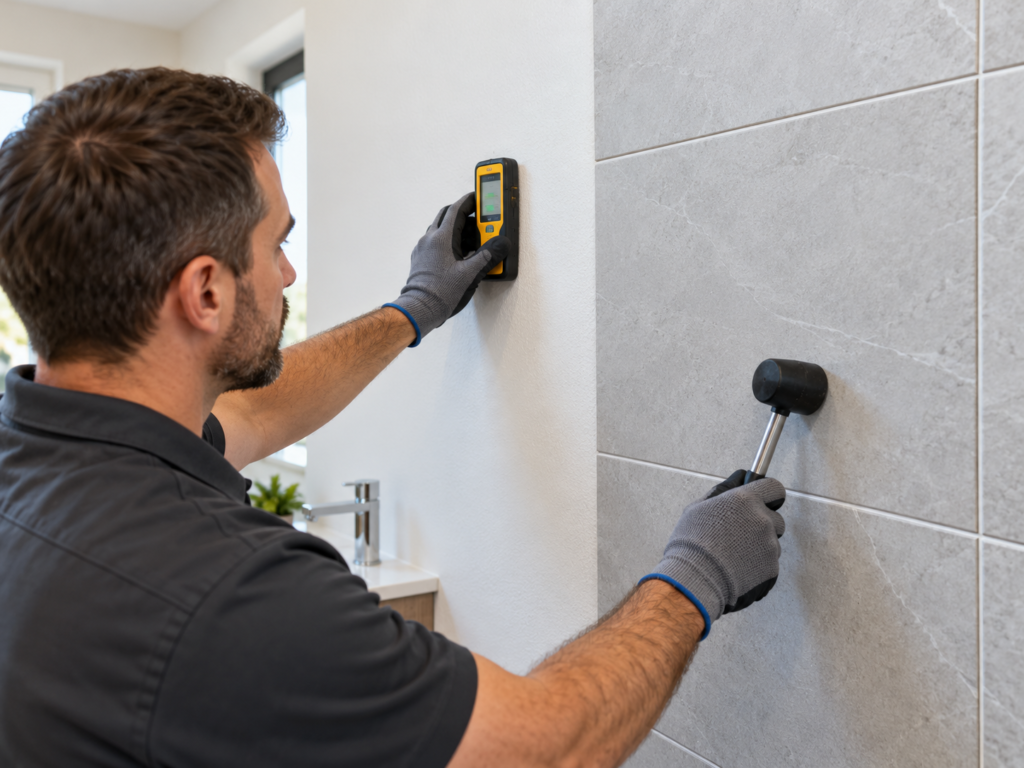
Existing Painted or Tiled Finish
Confirm the finish is firmly bonded and compatible with the proposed adhesive or mechanical fixing method.
Tools & Safety
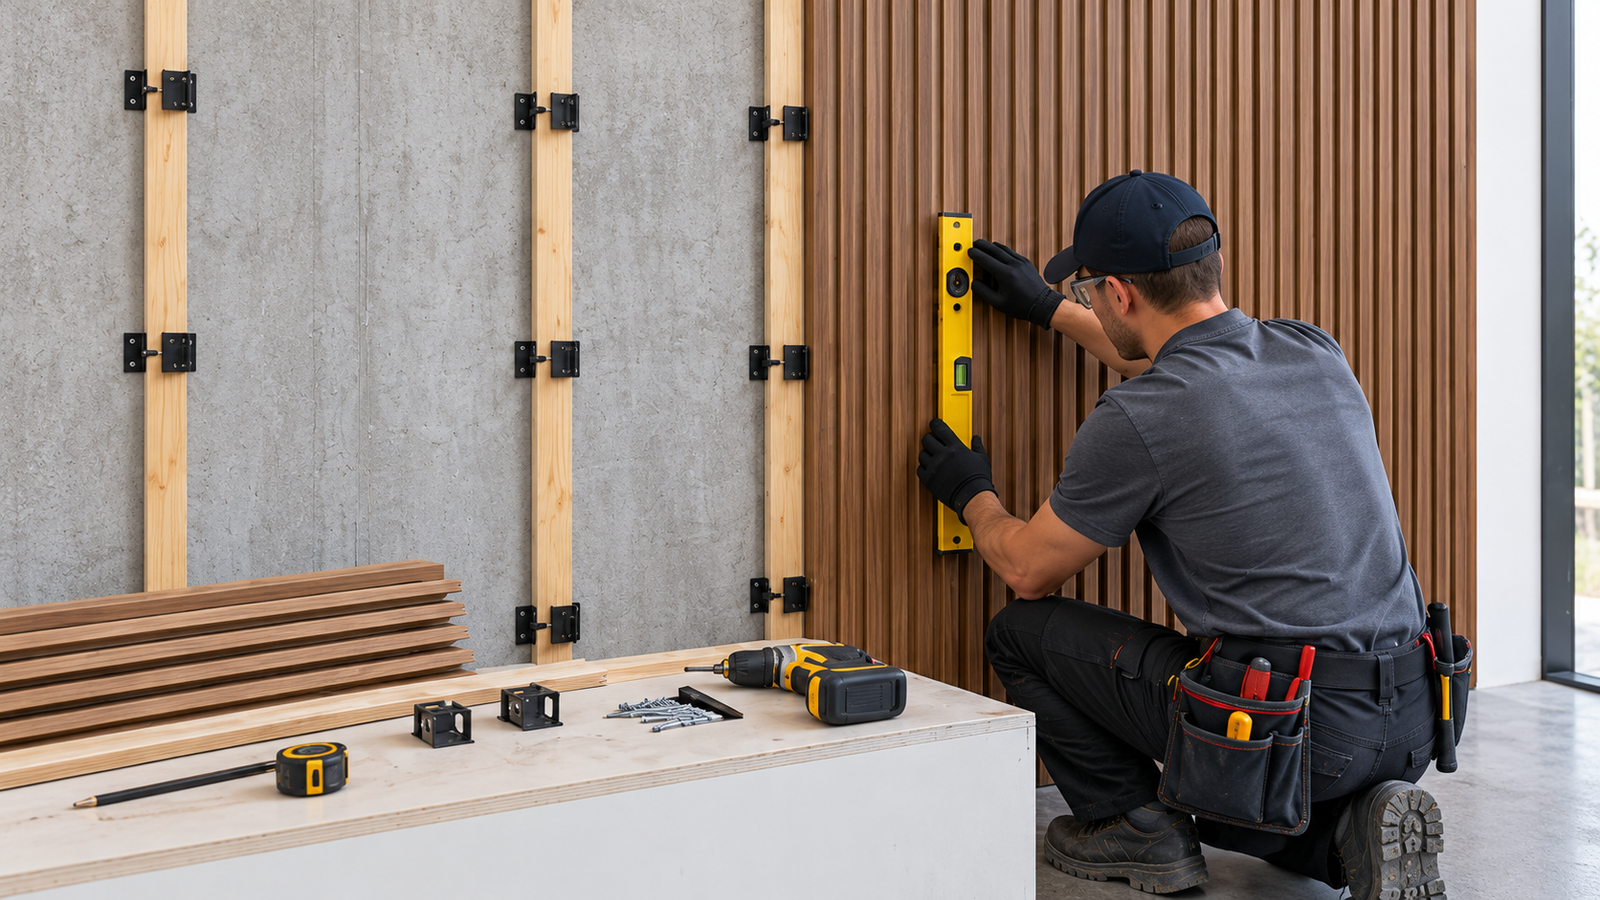
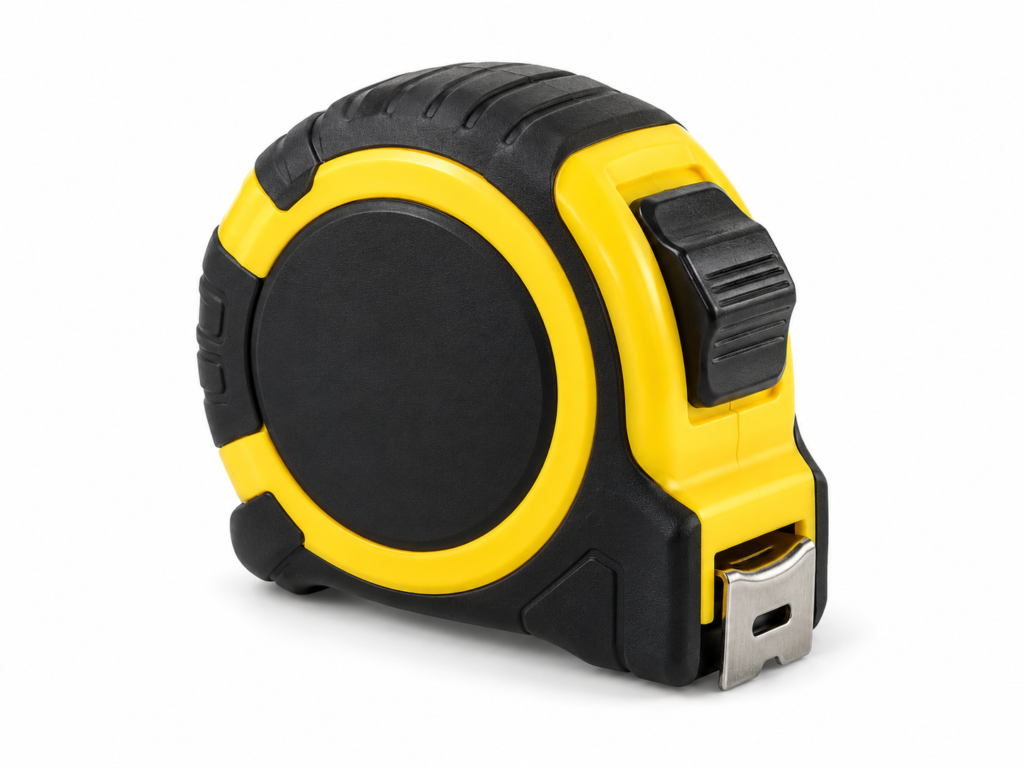
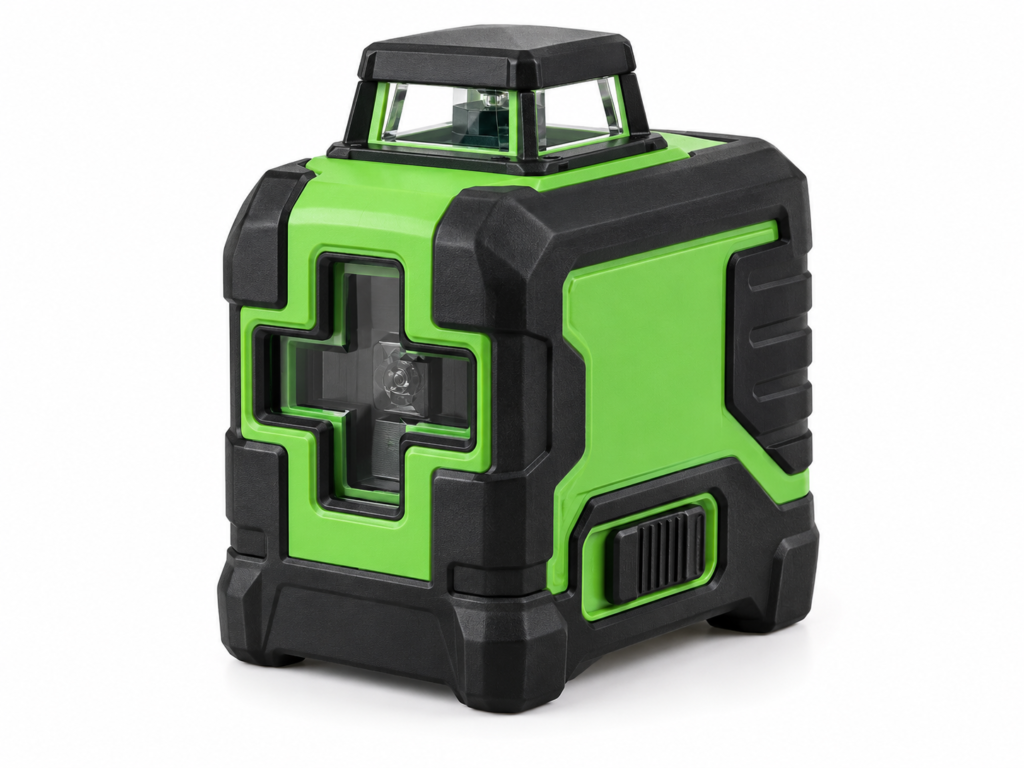
- Measuring tape & level
- Suitable drill & fixings

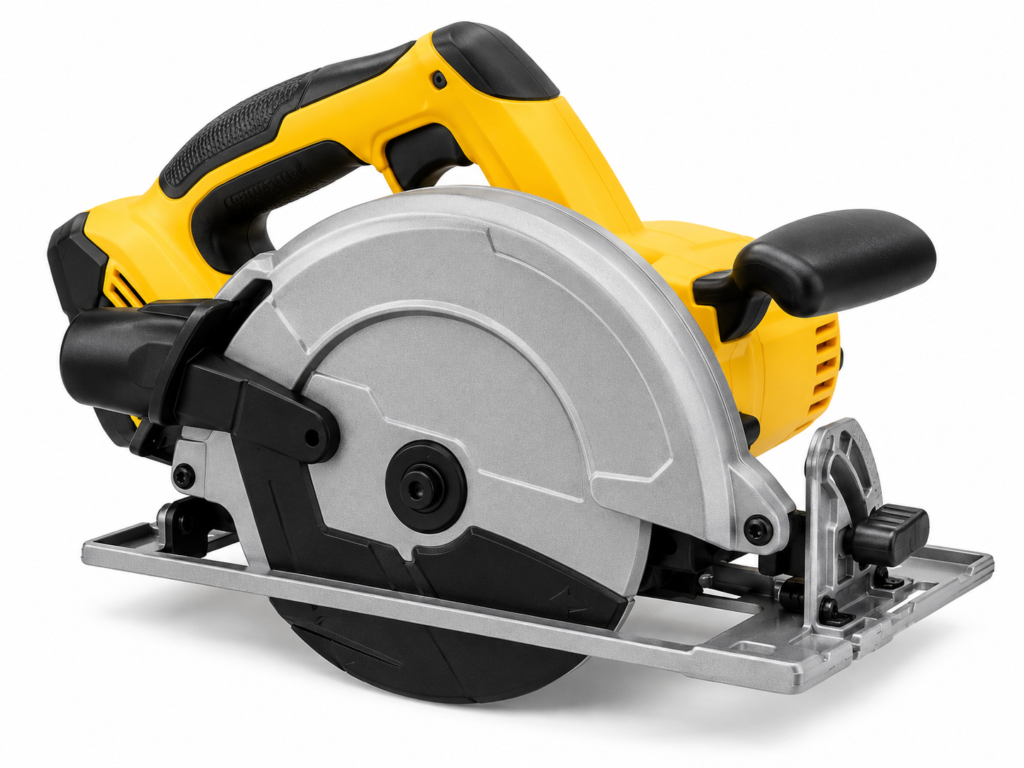
- Material-compatible cutting tools
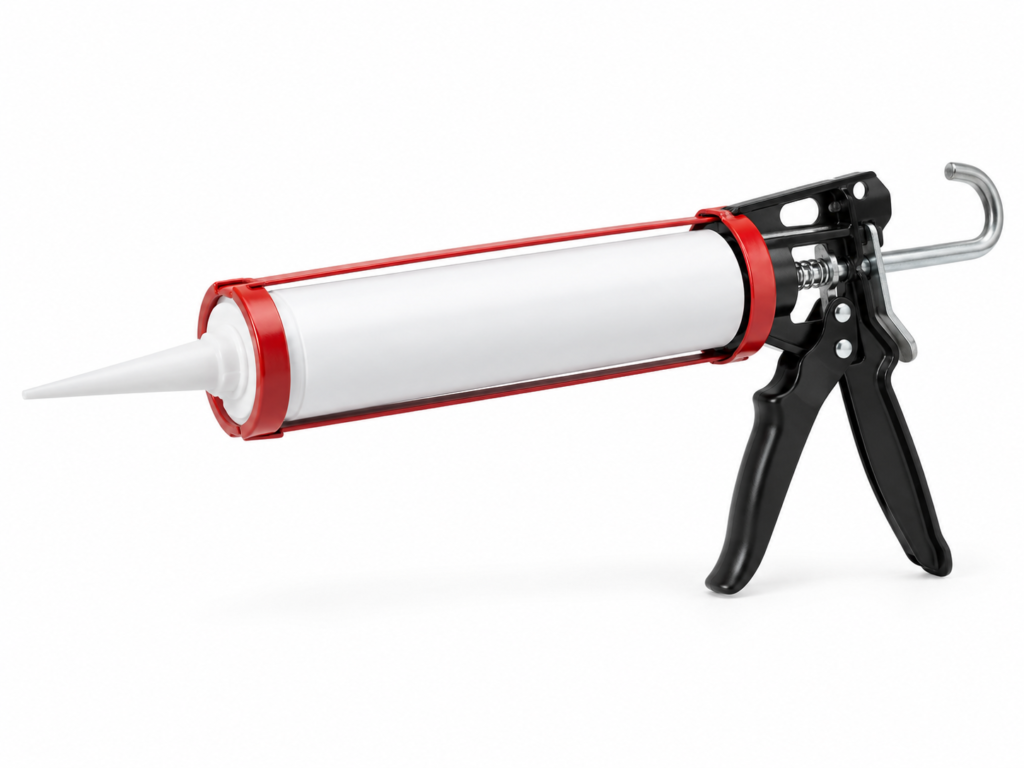
- Adhesive applicator, where specified
- Eye protection

- Task-appropriate gloves

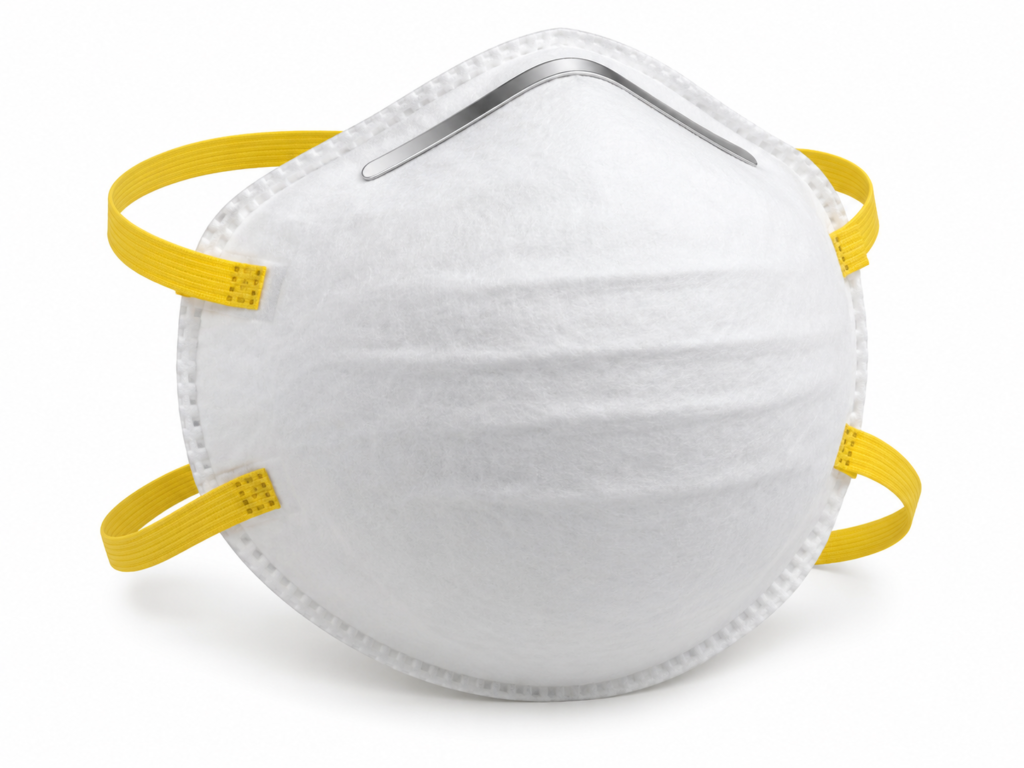
- Dust control & suitable respiratory protection
- Hearing protection, where required
Required tools and protective equipment depend on the panel material, fixing method and task. Follow the product and tool instructions, relevant safety data sheets and local workplace-safety requirements. Use appropriate dust extraction and have electrical or other specialist work carried out by qualified personnel.
Layout Planning
Before installation, a layout plan should be established to determine panel orientation, joint positions, and trim placement. Careful planning minimizes material waste and ensures visual consistency across the installation area.
- Mark reference lines on the substrate to guide panel alignment
- Plan panel starting positions to achieve balanced visual outcomes
- Account for door frames, window openings, and architectural features
- Confirm trim and accessory placement before panel fixing begins
Choose the Fixing Method by Panel & Substrate
The appropriate fixing method depends on the panel type, substrate condition and project requirements. Use this comparison to identify what must be confirmed in the selected product instructions before installation.
| Fixing Method | Typical Application | Key Points to Confirm |
|---|---|---|
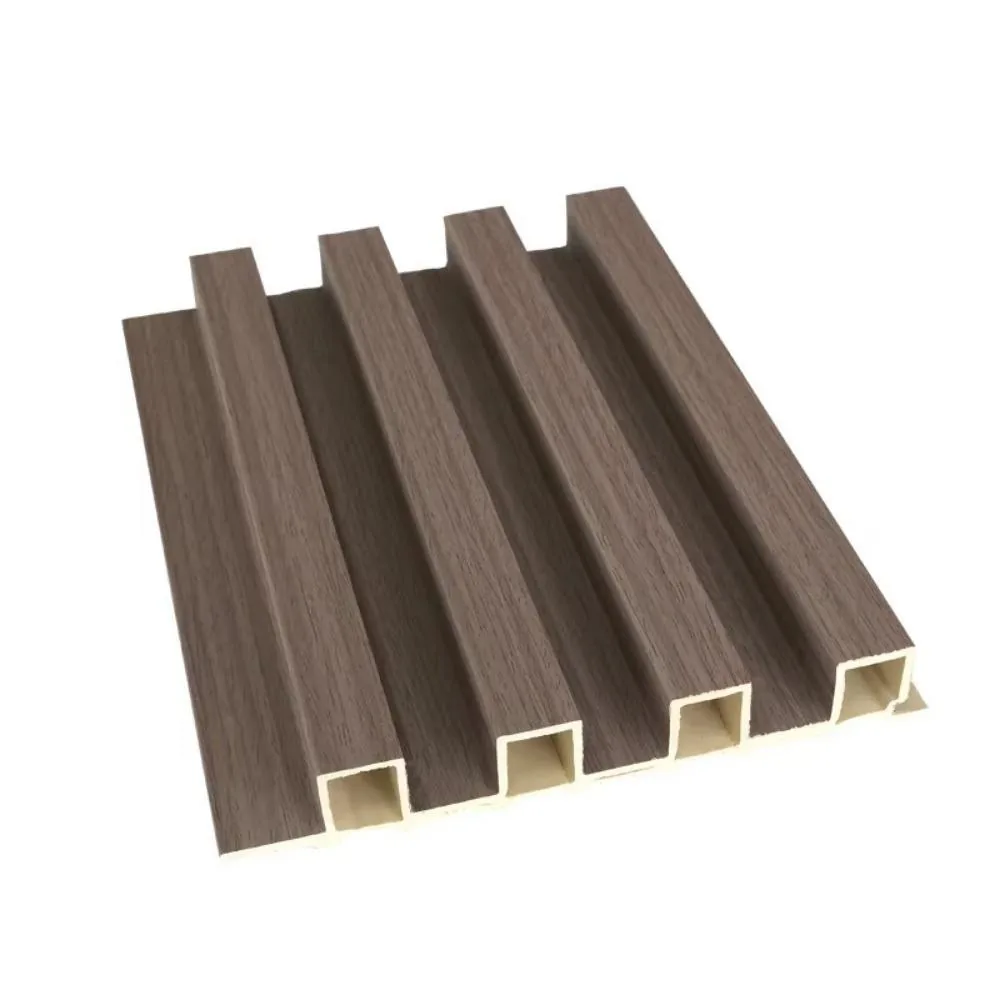
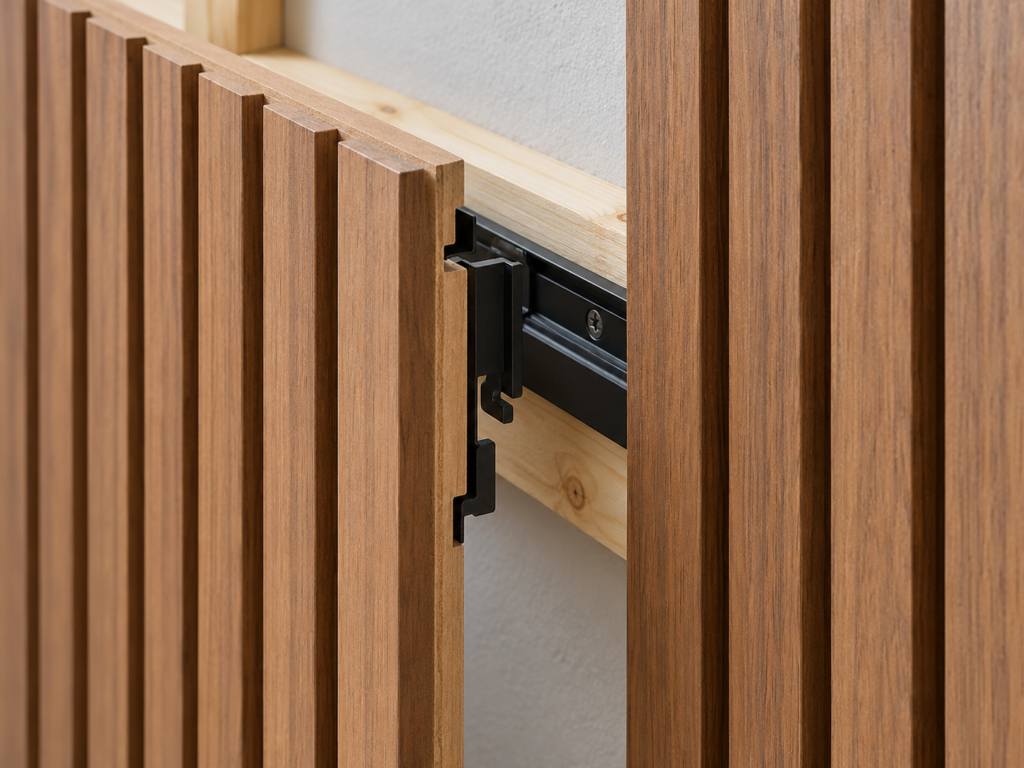 Clip or Rail System | Compatible fluted panels and system profiles. | Confirm compatible clips, rails or battens, alignment and model-specific movement allowances. Removal and replacement depend on the selected system; not all clips are demountable. |
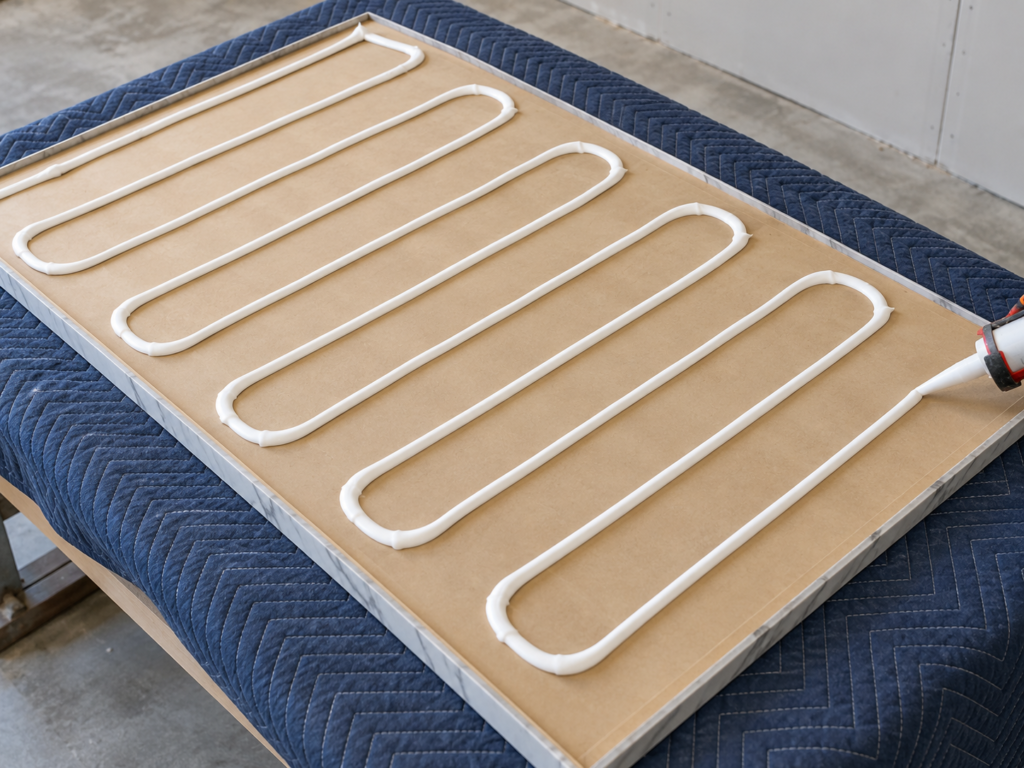 Adhesive Bonding | Applicable panels on suitable, stable substrates. | Confirm adhesive compatibility, substrate moisture and porosity, surface preparation, application pattern, ventilation and curing conditions with the product and adhesive instructions. |
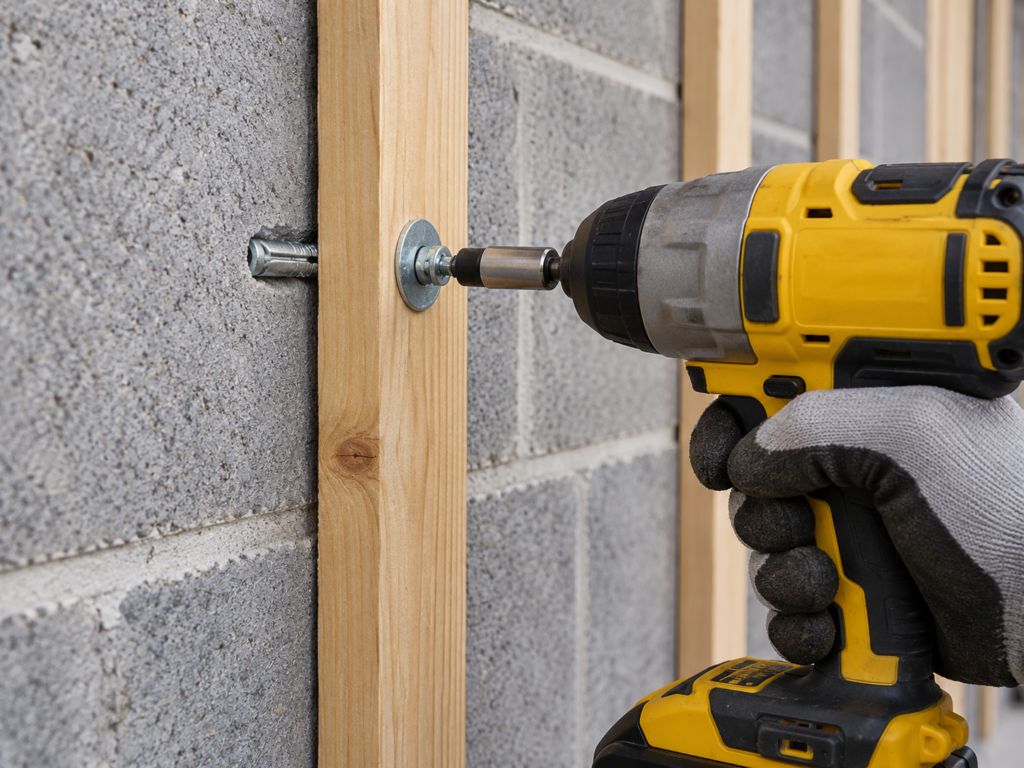 Secure Attachment | Panels or battens requiring approved fasteners. | Confirm fastener type, substrate anchorage, spacing, edge distance and concealed services. Secure attachment does not make a decorative panel load-bearing. |
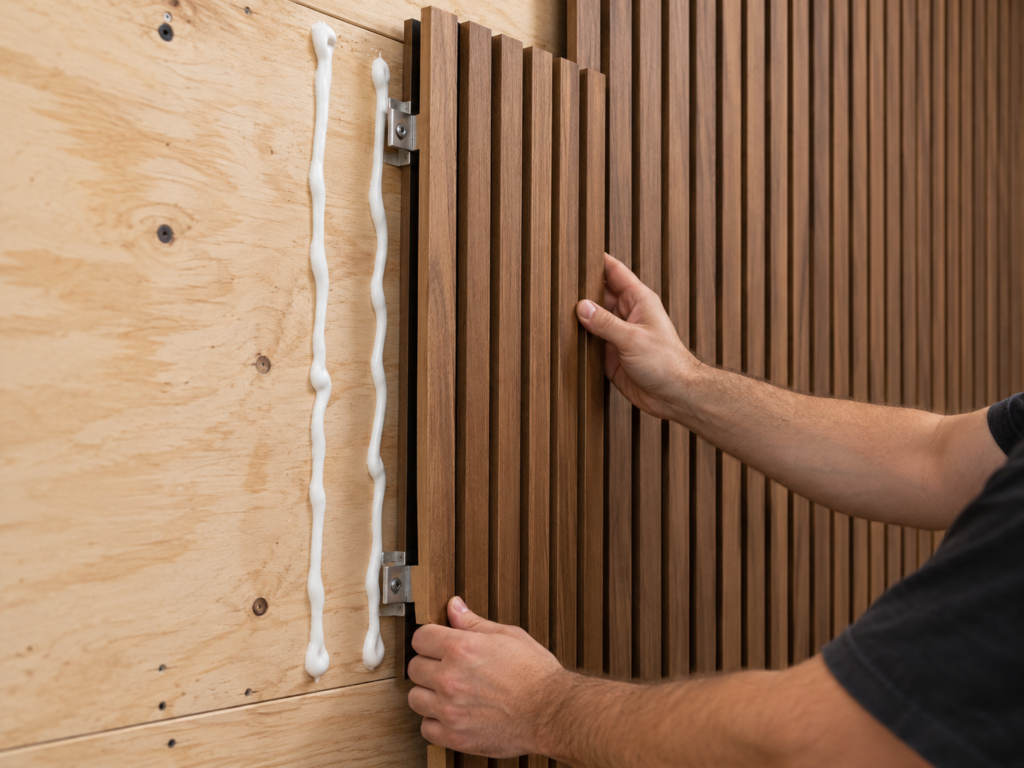 Combined Method | Systems specifying adhesive plus mechanical or concealed fastening. | Use only the combination specified for the selected product system. Confirm compatibility, installation sequence and curing requirements. |
Important Installation Boundaries
- Decorative wall panels are non-load-bearing finishing products.
- Confirm concealed electrical, plumbing and fire-protection services before drilling or fixing.
- Performance of the completed wall assembly depends on the panels, adhesives, substrate, cavity and fixing method. A panel rating alone does not establish compliance of the entire assembly.
- Account for moisture, temperature and movement using the selected system instructions.
- Exterior systems require a separate review of drainage, ventilation, weather exposure and corrosion-resistant fixings. Indoor panels are not interchangeable with exterior-grade systems.
Acoustic Panel Note
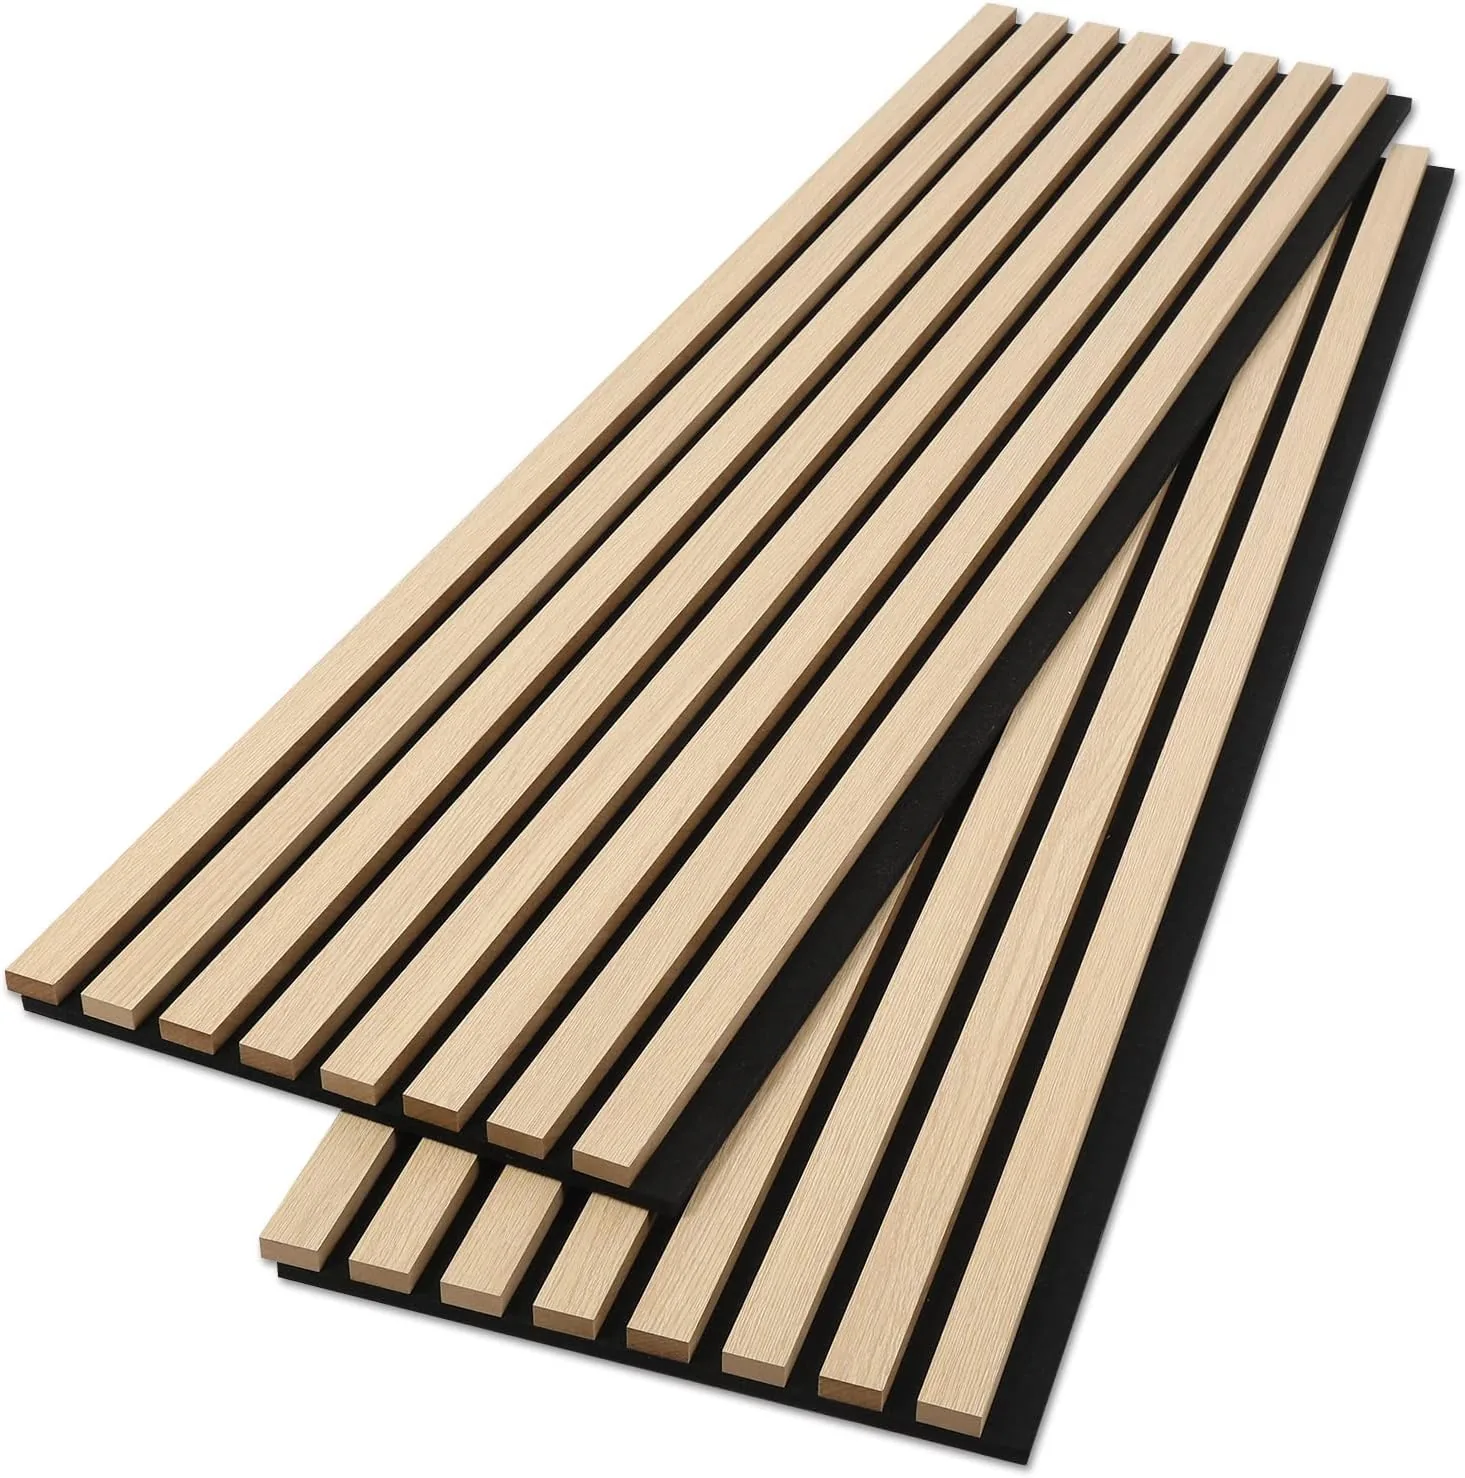
Acoustic performance depends on the complete tested installation configuration, including backing, cavity and fixing structure. Confirm that any test result applies to the proposed model and assembly; do not transfer a rating to a different installation.
Trims & Transitions
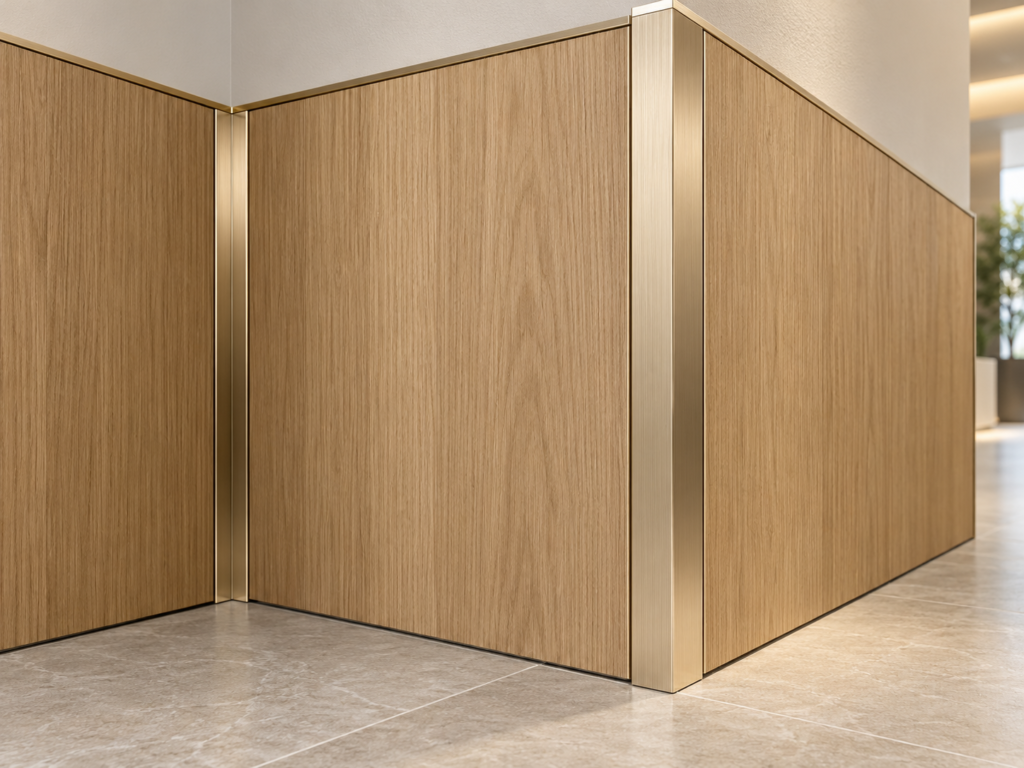
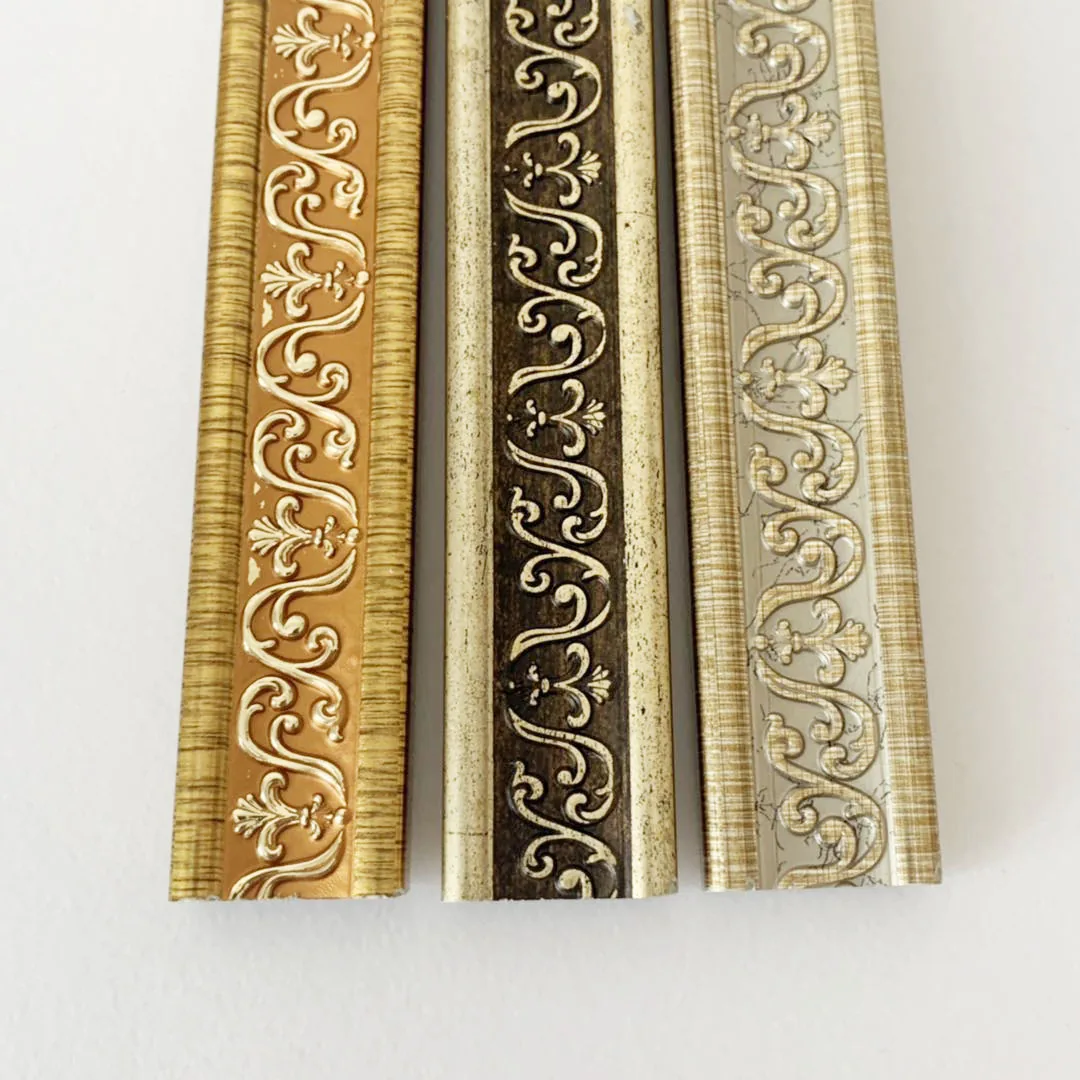
Inner & Outer Corners
Confirm corner profile compatibility, alignment and required movement space.
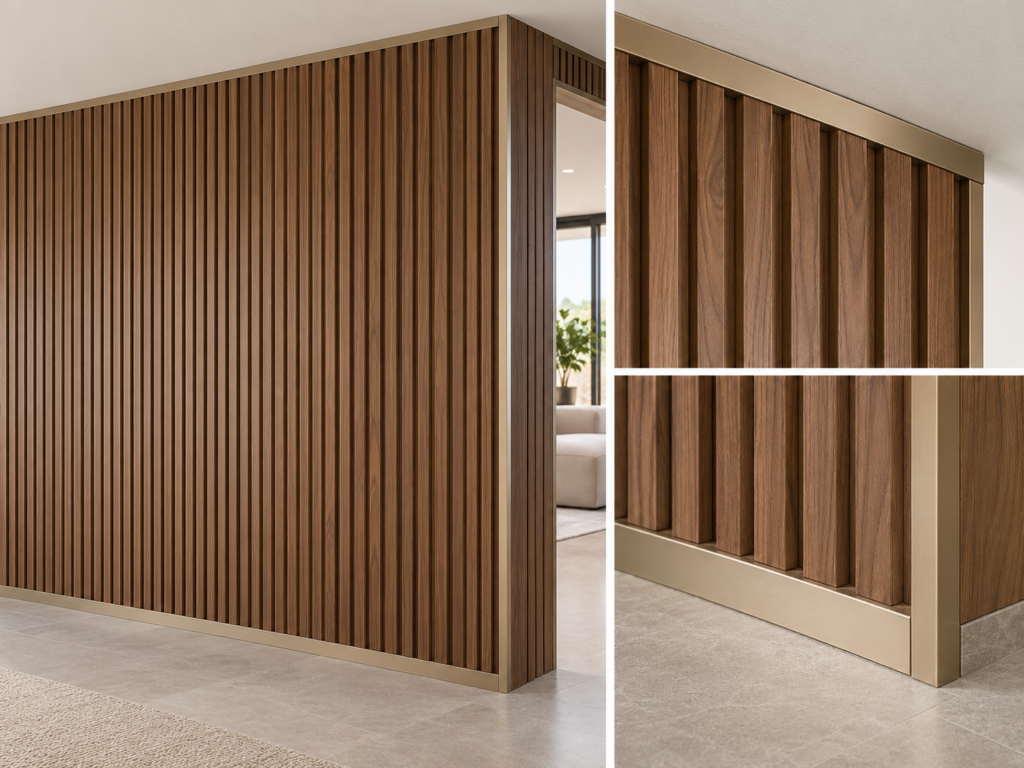
Top, Bottom & Edge Trims
Confirm edge coverage, attachment and the sequence for the selected profile.
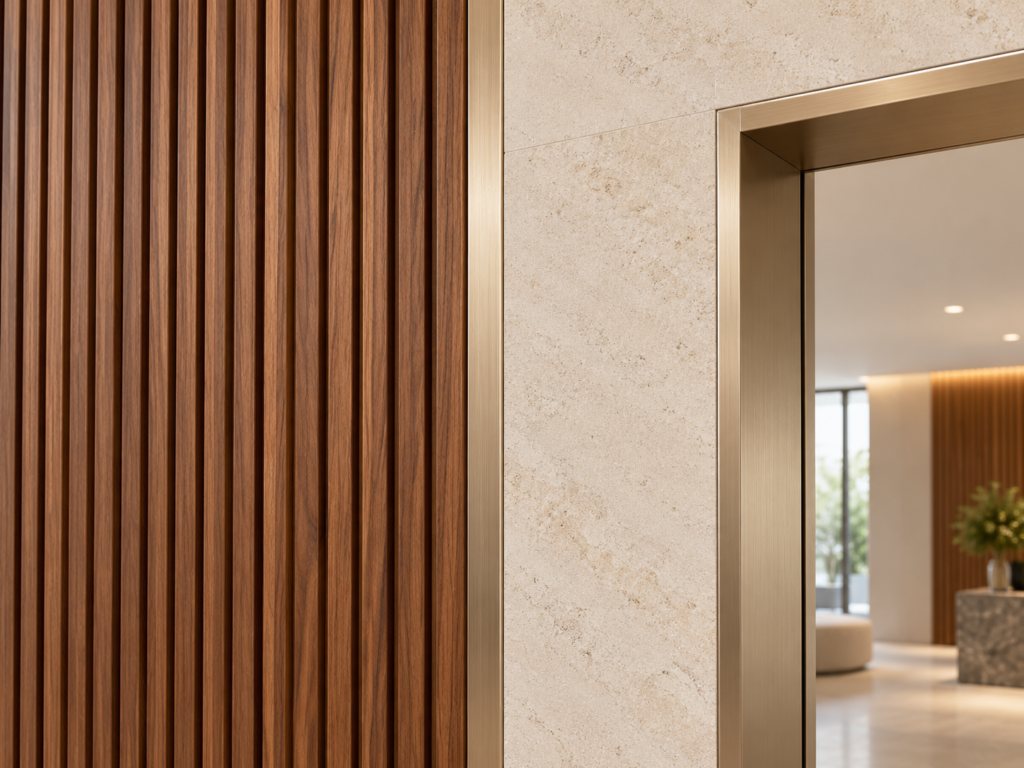
Material Transitions & Openings
Coordinate junctions, openings and access requirements with adjacent finishes.
Trim installation sequence varies by profile design. Confirm whether each trim is installed before, during or after adjacent panels; do not assume one sequence applies to all systems.
Final Inspection Checklist
- Panel alignment against reference lines
- Joint consistency and specified movement gaps
- Edge and corner finishing
- Correct engagement of the specified fasteners
- Adhesive curing, where applicable
- Model-specific expansion allowance
- Ventilation or drainage space, where required
- Surface condition, defects and handover records
Documents Buyers Should Request
- Product-specific installation instructions
- Panel profile drawings
- Compatible trim and accessory list
- Recommended fixing method
- Packaging, storage and handling instructions
- Applicable test reports for the supplied model and configuration
- Model-specific maintenance guidance
COLOMAC manufactures and supplies wall-panel products, accessories and applicable technical documents. On-site installation should be completed by the client’s appointed professionals. Confirm document availability and applicability for the selected product before ordering.