Quick Inquiry

Get a response from our export team

Or email us at sales@colomac.com

WPC Wall Panel Installation Overview: Choose the Correct Method by Product Type

INSTALLATION & MAINTENANCE

WPC Wall Panel Installation Overview: Choose the Correct Method by Product Type

Colomac Technical Team · Updated 29 October 2026 · 4 min read

Colomac Technical Team · Updated 29 October 2026 · 4 min read

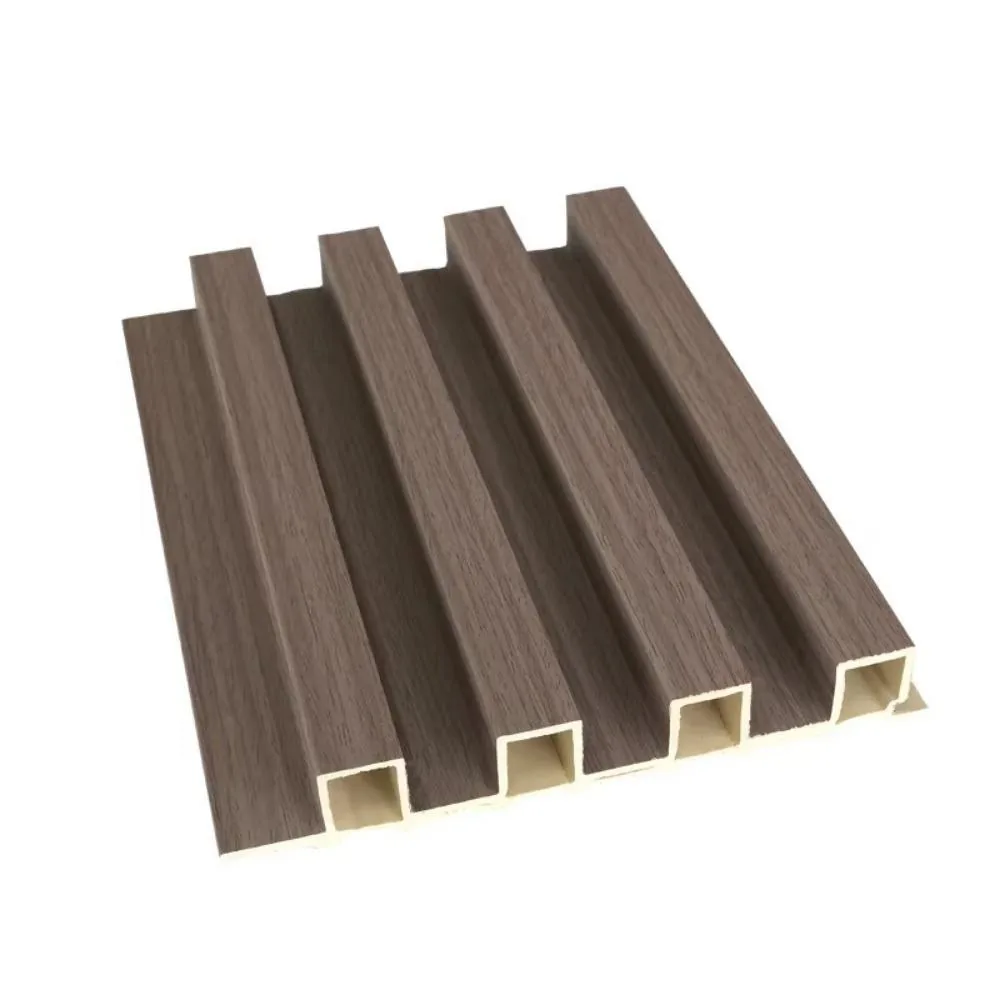
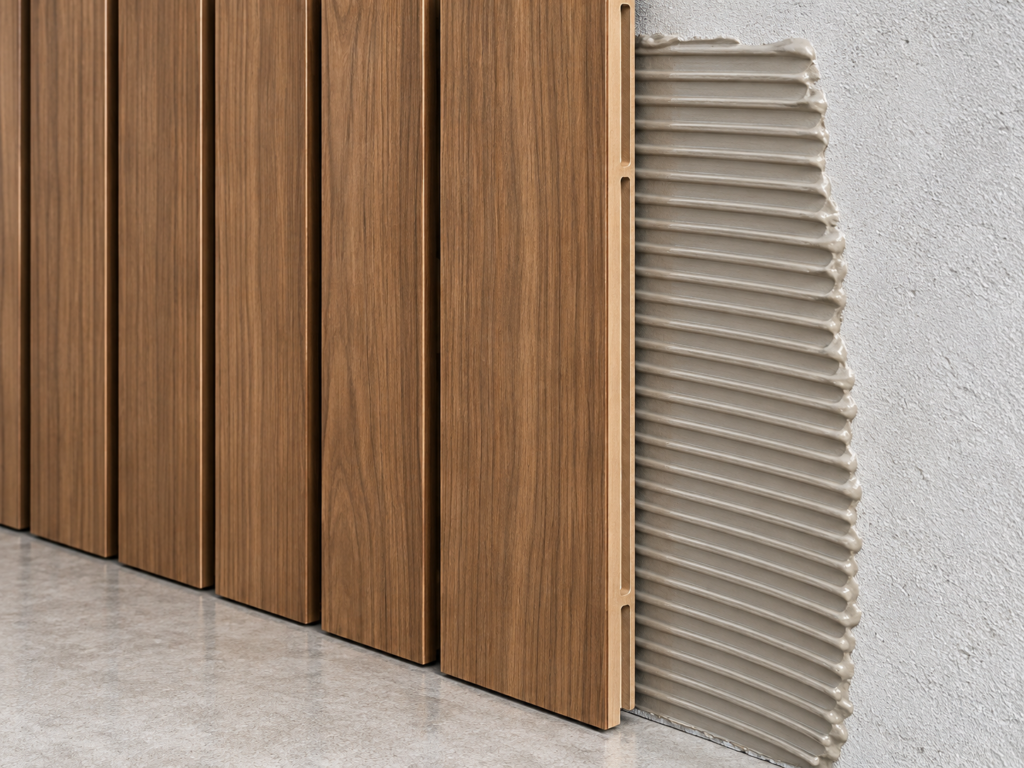
Illustrative adhesive direct-fix arrangement; confirm selected model instructions

1Adhesive / direct fix

For compatible panels and approved flat, stable substrates. Confirm adhesive, moisture and curing requirements.

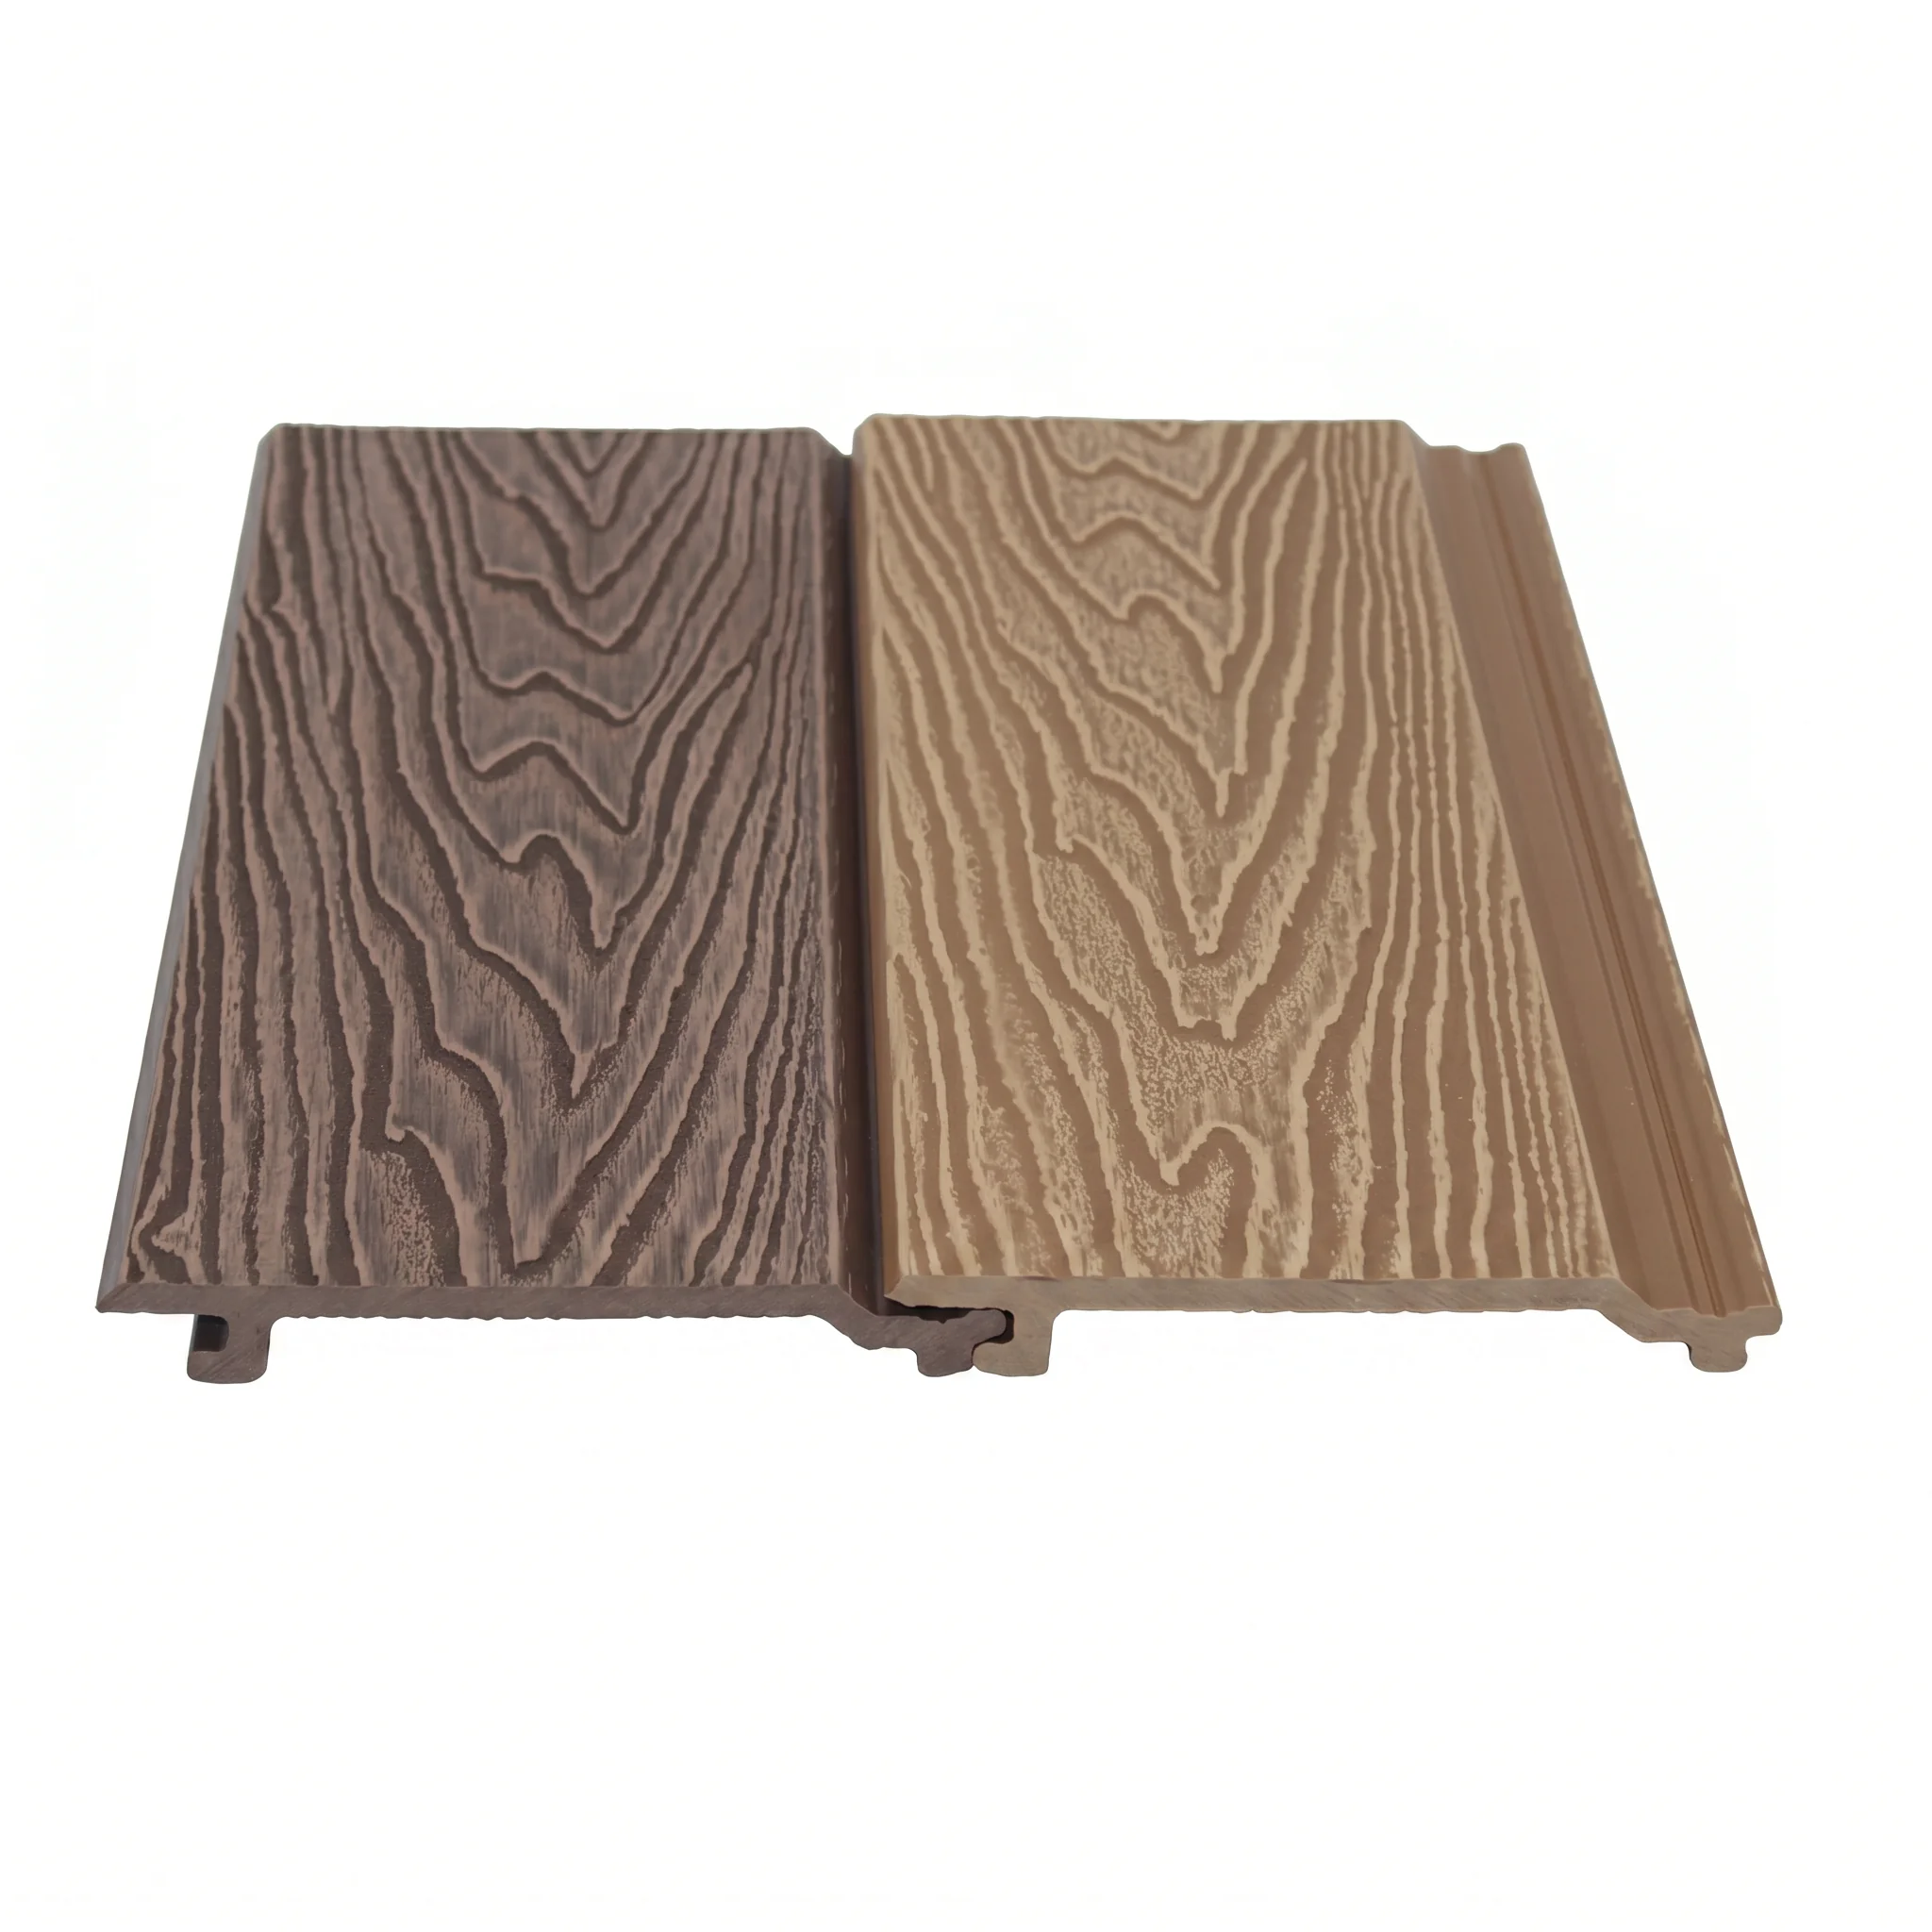
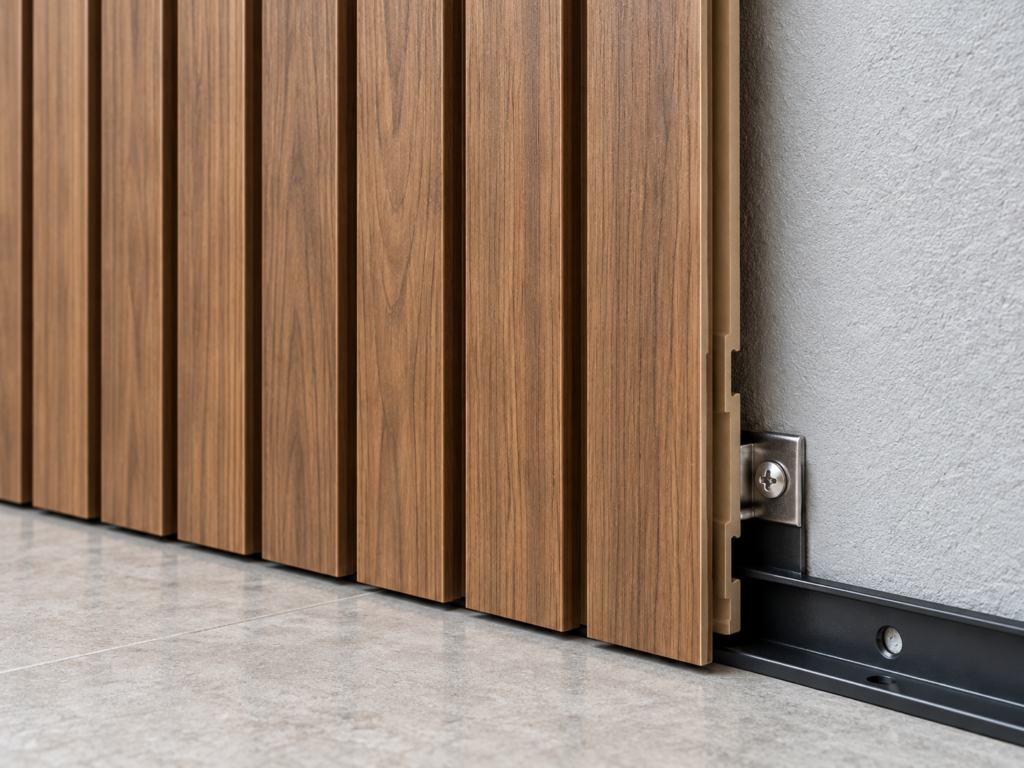
Illustrative compatible clip and starting profile arrangement; confirm selected model instructions

2Clip / interlock system

Only for compatible profiles with approved clips and starting details.

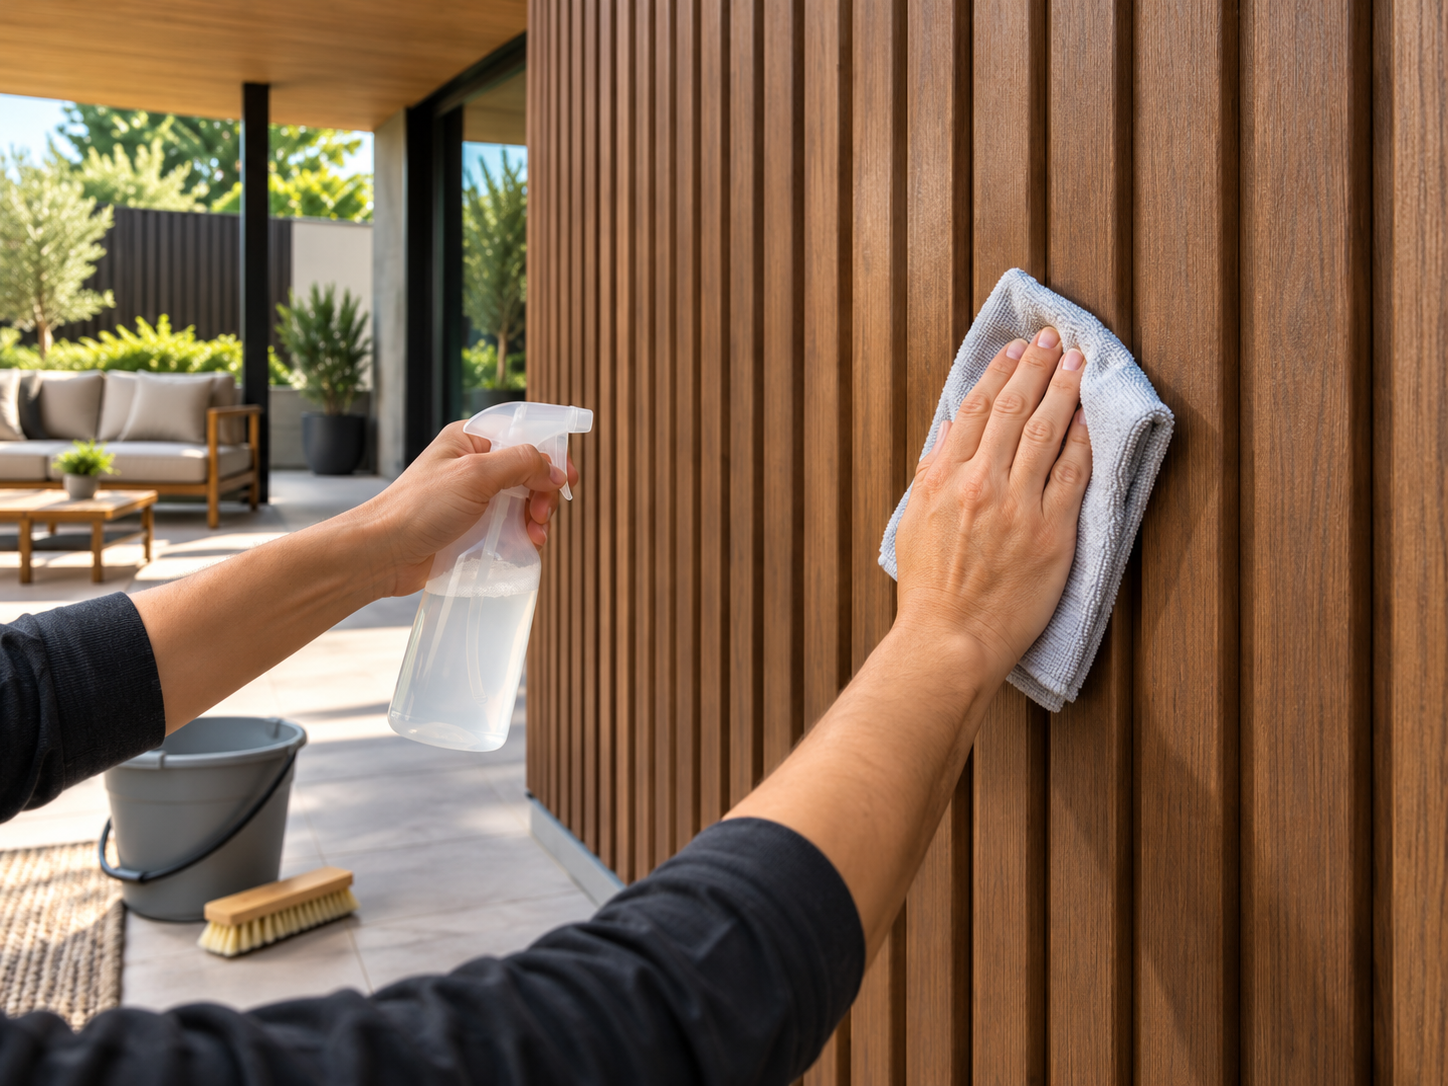
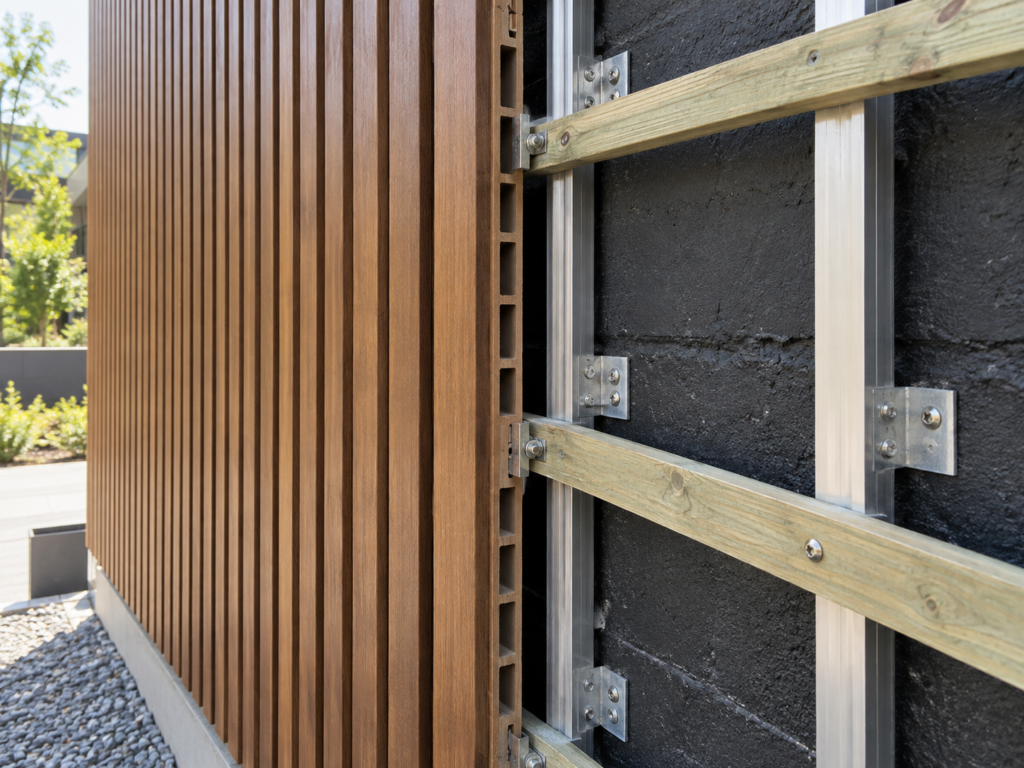
Illustrative batten and support frame arrangement; confirm selected model instructions

3Batten / support frame

For models designed for a supporting frame; confirm support, anchorage and exposure requirements.

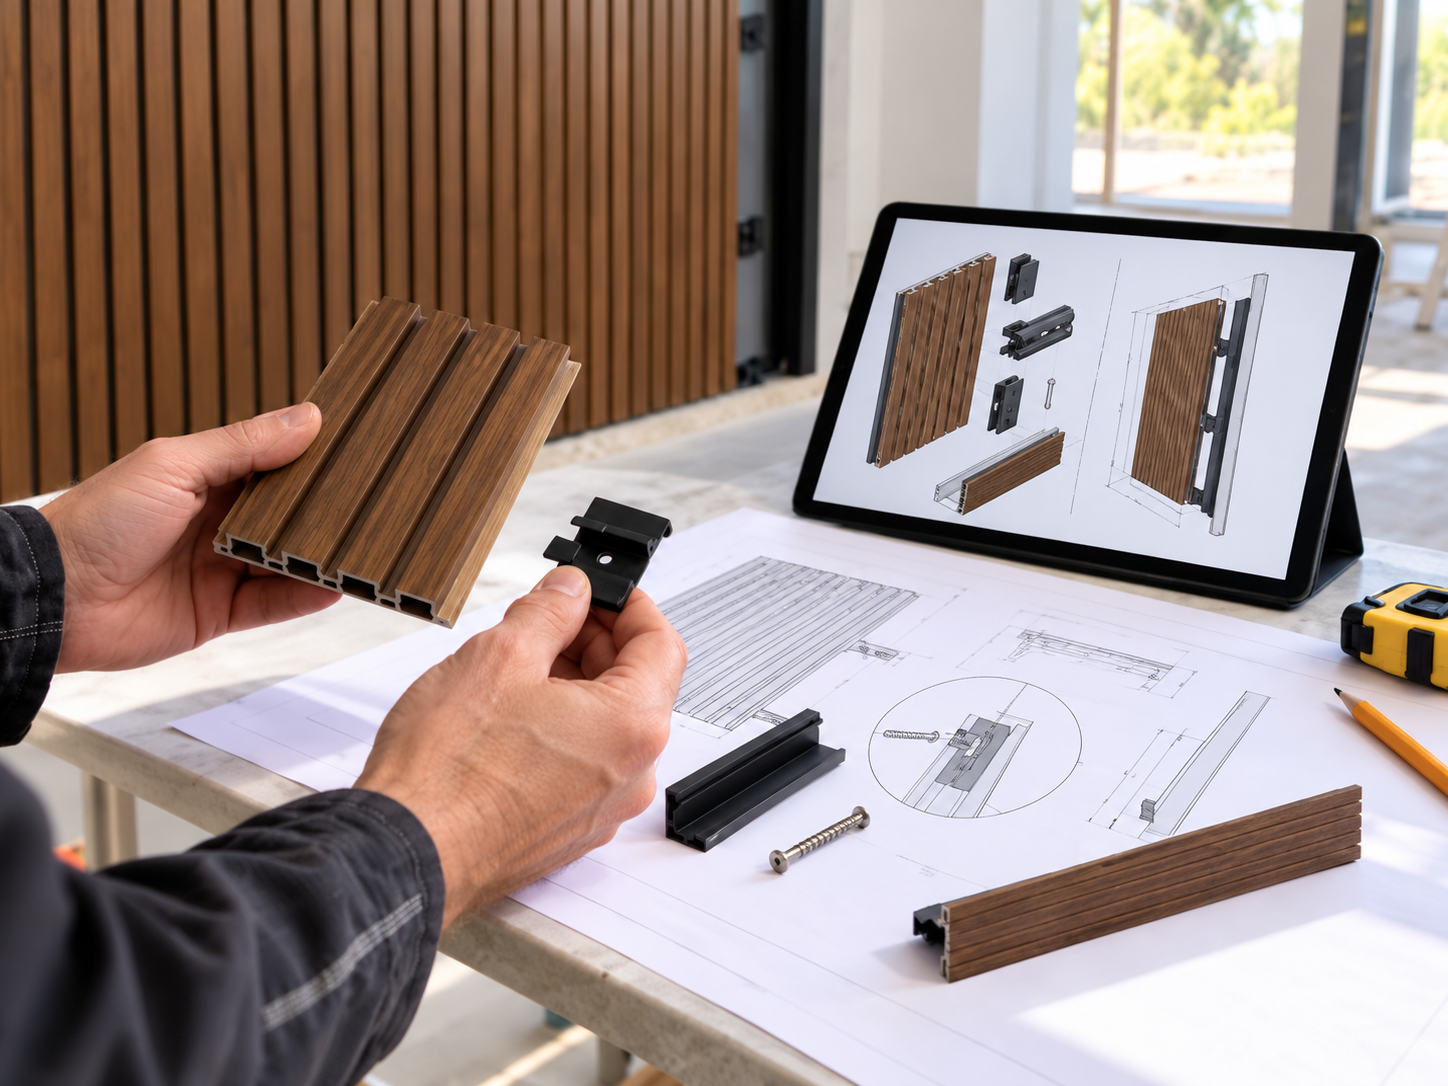
Illustrative fixing arrangements only—not approved installation details or confirmation of compatibility.
This article is a general installation overview, not a specific installation manual.

Confirm the exact product model, environment and current installation instructions before work begins.

Pre-Installation Checklist

Product & layout

Substrate & site

Stop installation if the substrate is wet, unstable, mould-affected, outside the permitted tolerance or incompatible with the selected fixing system. Obtain a qualified assessment before continuing.

Eye protection

Use suitable eye protection for the task.

Hearing protection

Follow tool instructions and workplace requirements.

Dust control

Use suitable extraction and respiratory protection for the material and cutting method.

Tool instructions

Use appropriate tools and follow their safety instructions.

Model-Specific Installation Sequence
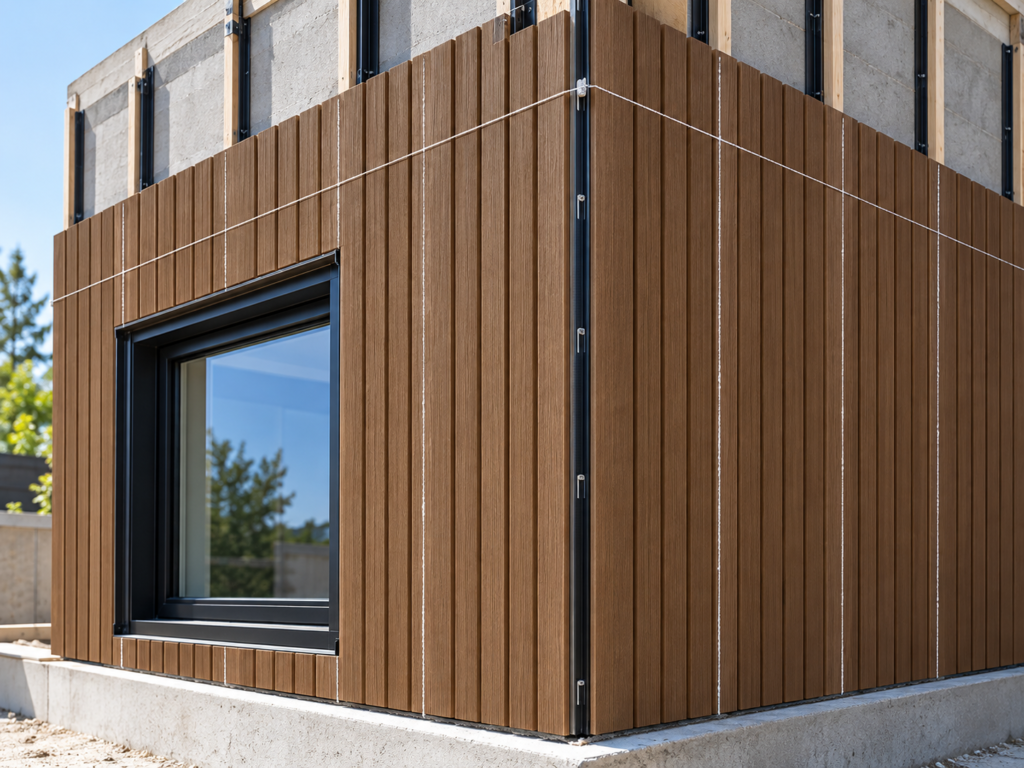
1
Conceptual installation step 1 — use product-specific instructions

Set out

Confirm panel direction, reference line, corners, openings and trim locations before cutting.
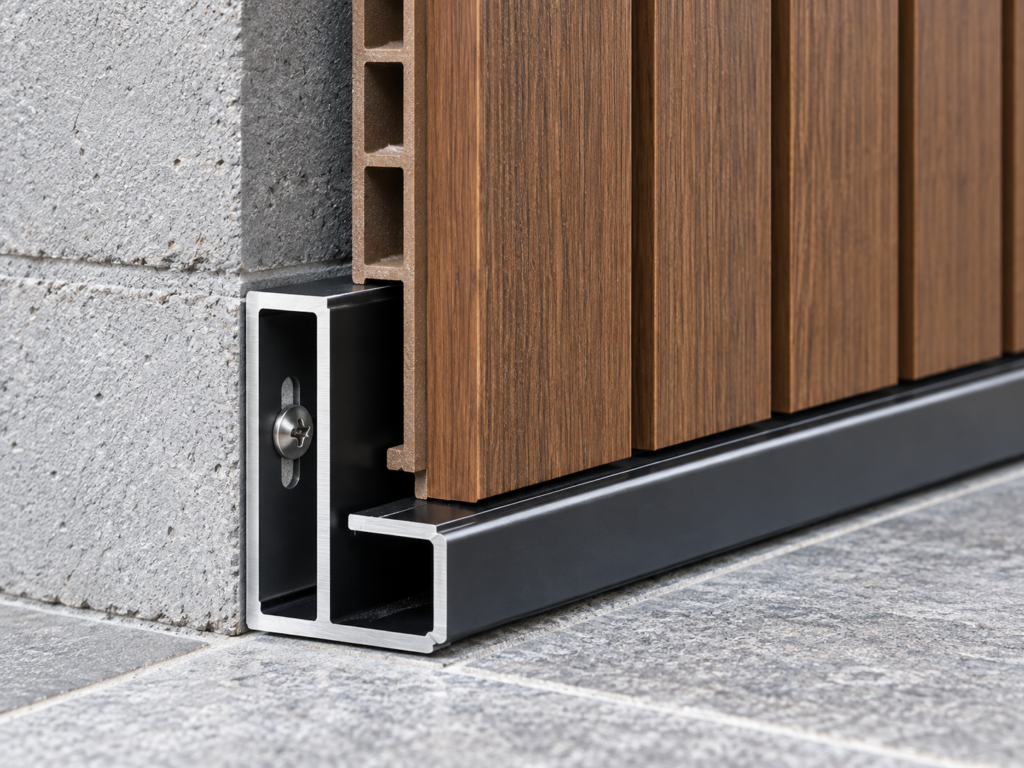
2
Conceptual installation step 2 — use product-specific instructions

Starting detail

Use the approved starting profile, mechanical fixing or adhesive method for the selected product. Face-fixing and starting clips are not interchangeable by default.
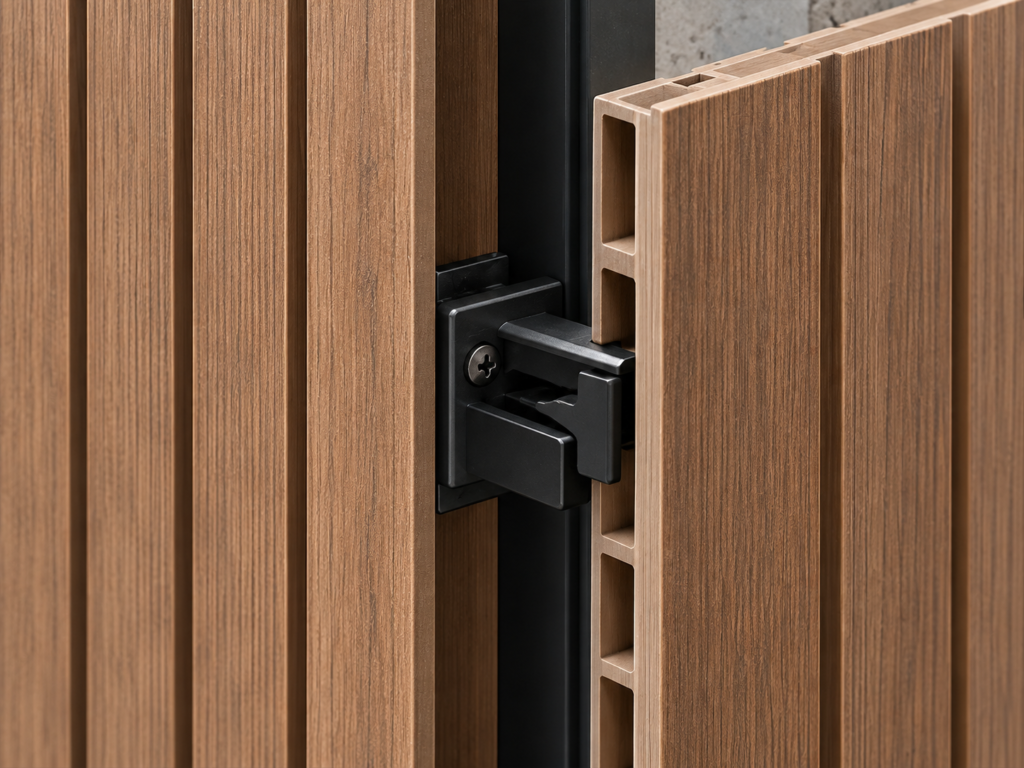
3
Conceptual installation step 3 — use product-specific instructions

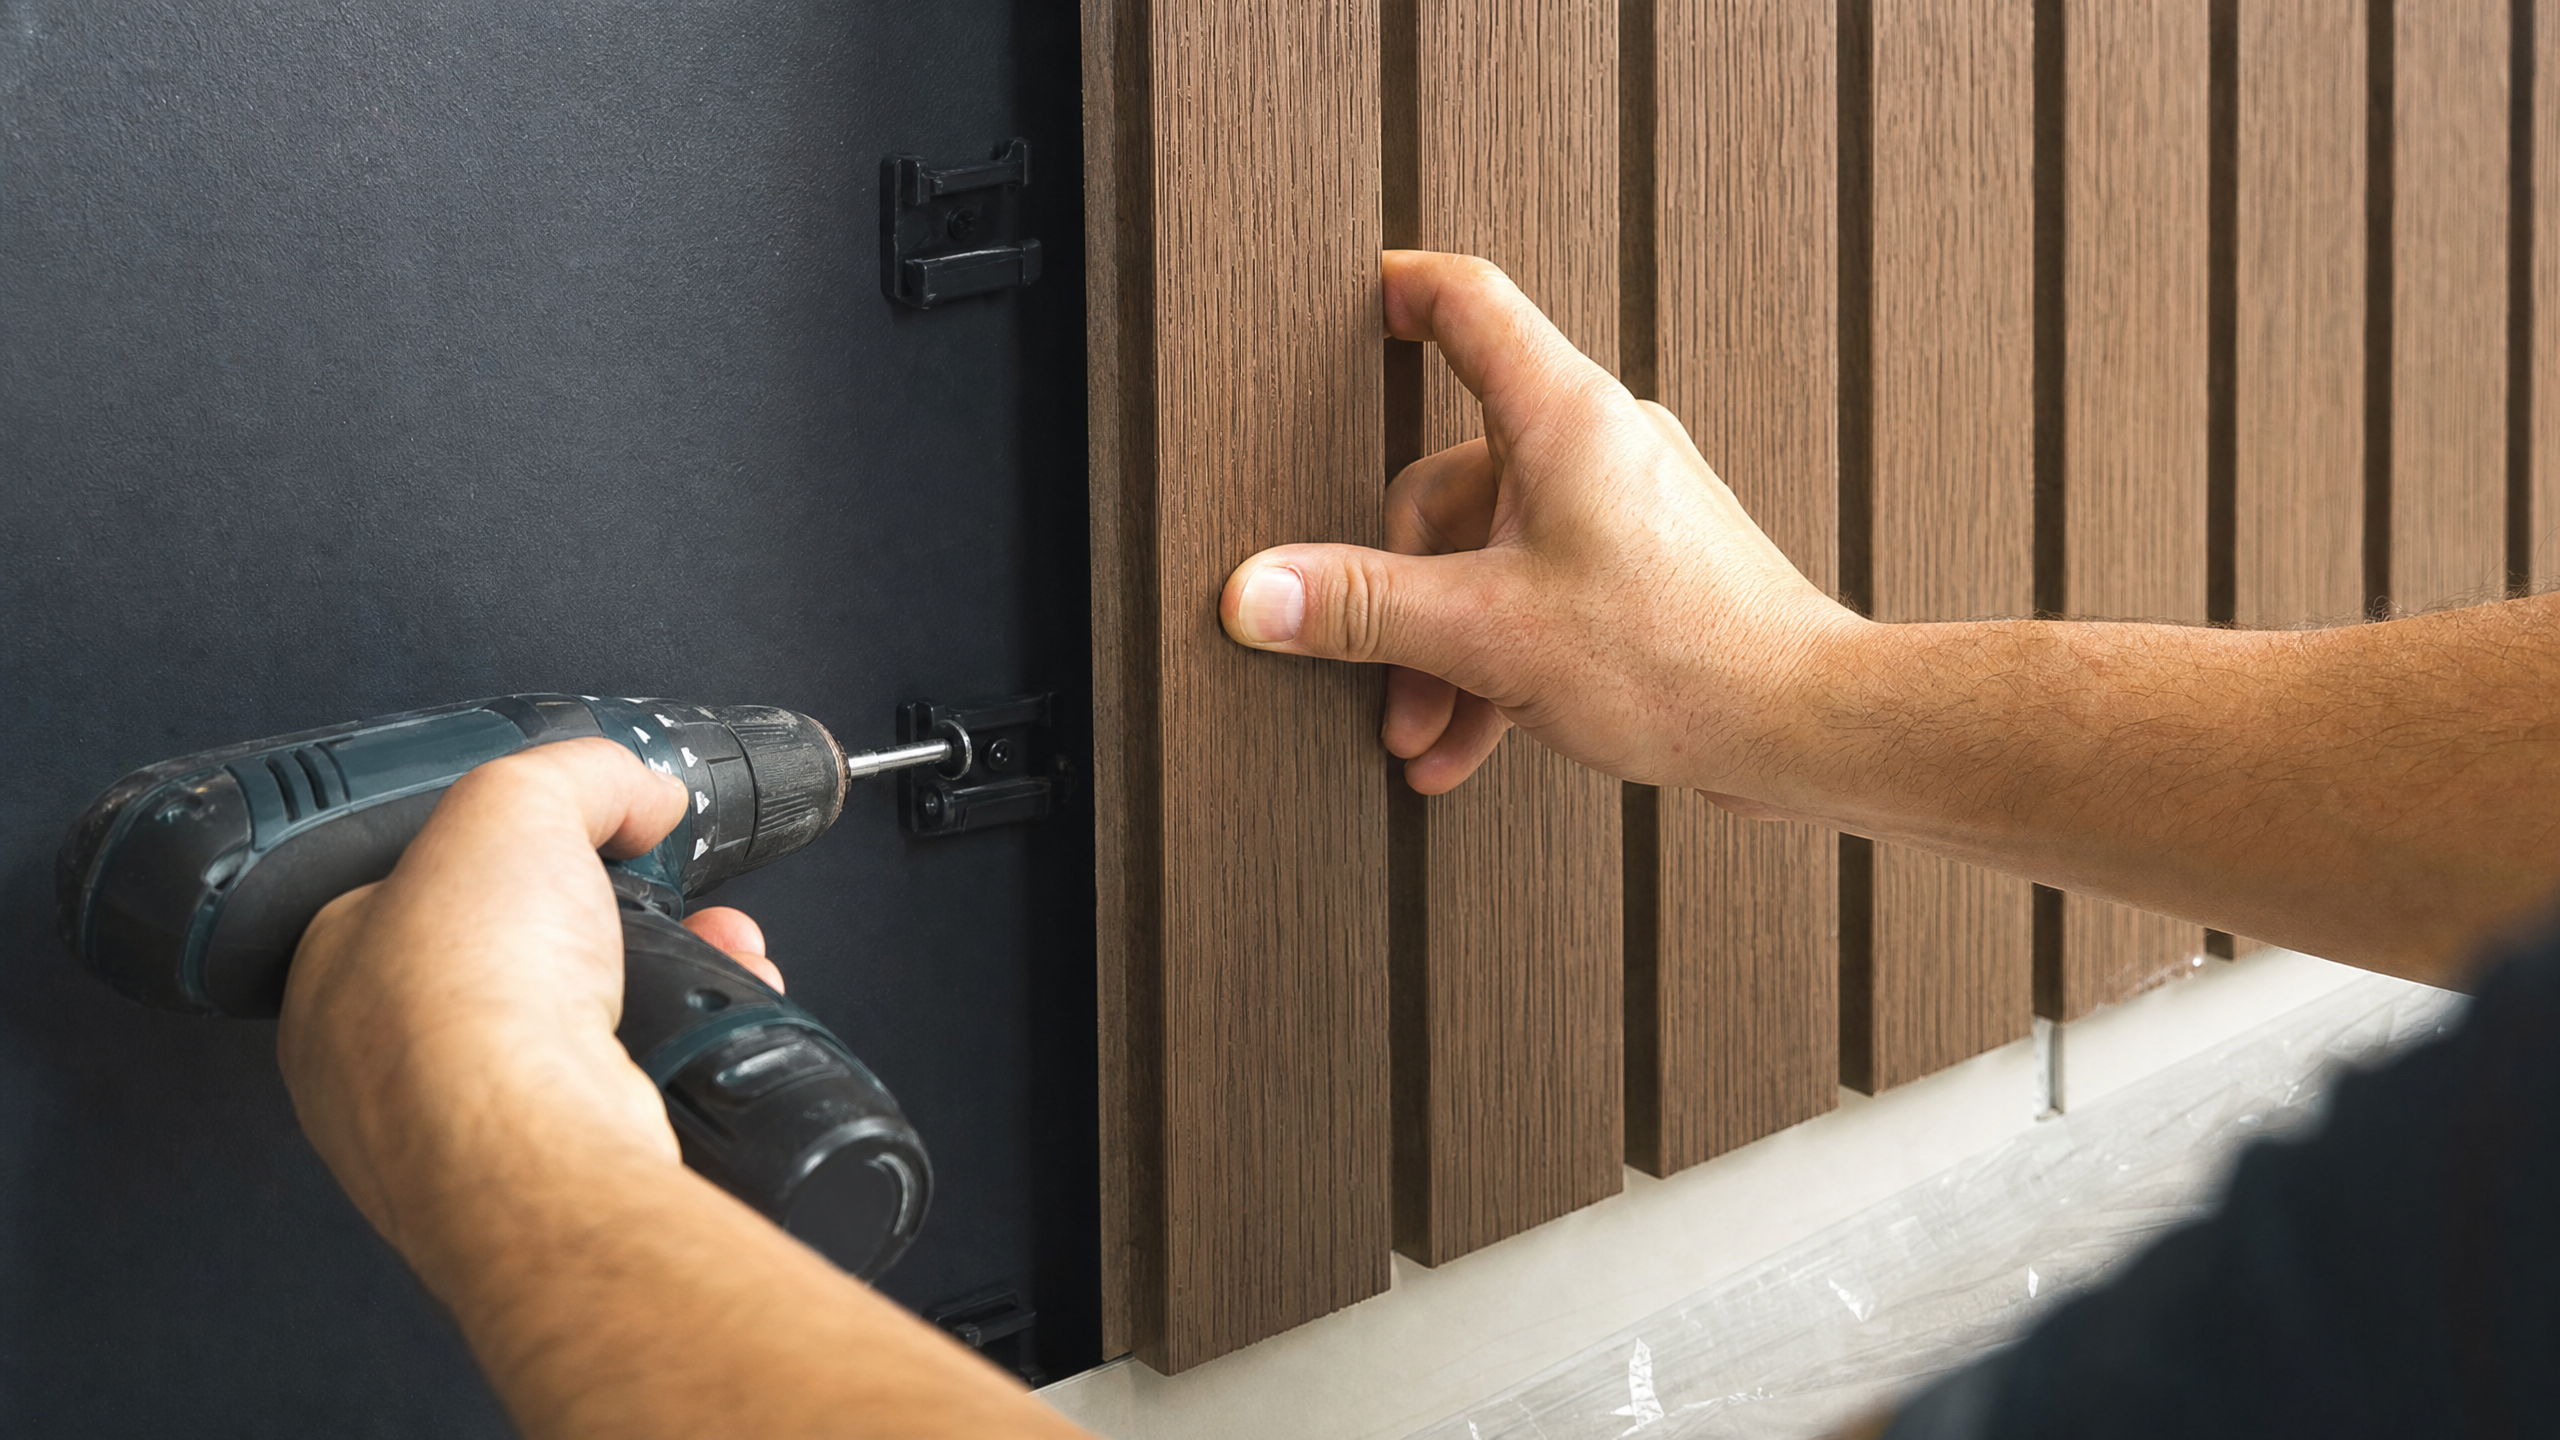
Fix panels

Follow model-specific clips, fasteners, support spacing and installation direction. Not every WPC panel uses a tongue-and-groove or clip system.
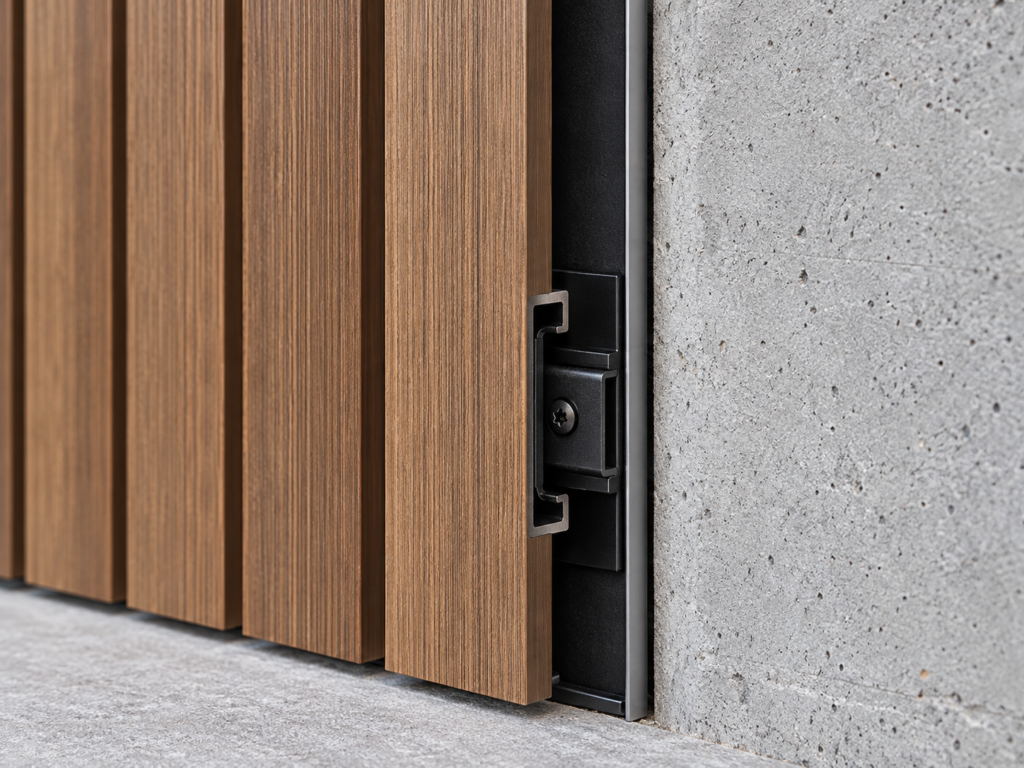
4
Conceptual installation step 4 — use product-specific instructions

Allow movement

Maintain required edge, end and perimeter movement space. Follow fixing-tightness instructions; do not over-tighten or restrain required movement.
5
Conceptual installation step 5 — use product-specific instructions

Finish details

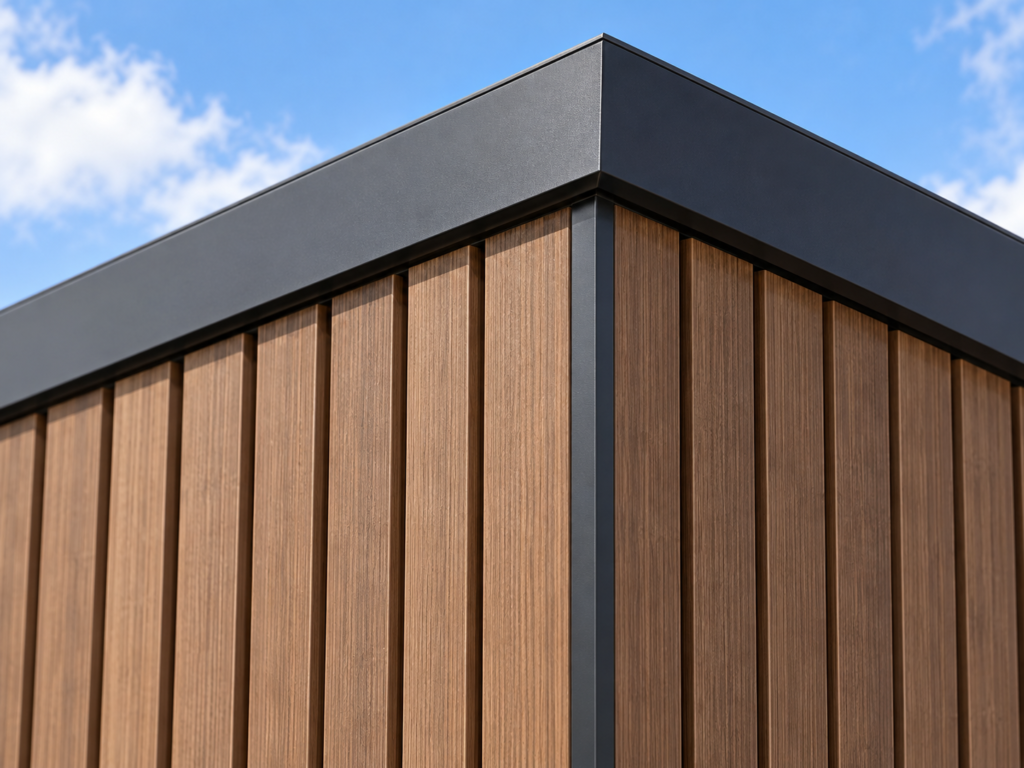
Install compatible corners, terminations, skirting and opening trims. Confirm installation order and permitted adhesive or mechanical fixing from the system instructions.

Conceptual sequence and fixing references only. Use the current instructions for the exact product; illustrated arrangements are not interchangeable.
For exterior-rated systems, also confirm drainage, ventilation cavity, ground clearance, corrosion-resistant fasteners and local wind/building requirements.
Do not drill through concealed services, waterproofing or fire-rated construction without project approval.

Final Inspection and Project Records

Final inspection

Project records

Supply and project responsibilities

COLOMAC manufactures, supplies and exports products and provides applicable product-specific technical documents. Substrate assessment, fixing design and local-code compliance, and on-site installation remain the responsibility of the project team and appointed professionals.

FACTORY-DIRECT ENQUIRY

Need the Correct Installation Method for a WPC Product?

Send the product model or photo, installation environment, wall substrate, panel direction, estimated quantity and destination. We can provide applicable product options, accessories and technical documents.

Product samples may be available. Confirm sample charges, international freight and delivery terms in the quotation. A sample is not evidence of complete installed-system performance.

Send Your Project Enquiry

Optional files: PDF, JPG or PNG, up to 10 MB per file. Do not upload confidential information that is unnecessary for the enquiry.

Request a Factory Tour

Colomac · Zhengzhou, Henan, China
Fill in your details and we’ll arrange a guided tour of our manufacturing facility. Our team will confirm the visit schedule within 1–2 business days.
Factory Location: Headquarters in Zhengzhou (Henan), with additional factories in Linyi (Shandong) and Jinhua (Zhejiang), China. Our team will contact you within 1–2 business days to confirm your visit schedule and provide detailed logistics information.